How I avoided typing long passwords - Use at your own risk!
I programmed an Arduino Pro Micro to write a long password every time I pressed a button. It helped me save a ton of time and I'm sharing how you can make one yourself - at your own risk!

Last year I had to use a workstation at the office for about 4 months. It required a 16 characters complex password, not only for logging in for the normal Windows session but also for many other things: opening a web browser, launching Windows Task Manager, making changes to the Matlab path, accessing the company’s shared drives, and moving files from certain folders.
I decided that I don't have enough “disk space” in my head to store long complex passwords, nor the time to write them.
So I programmed an Arduino Pro Micro to write the password every time I pressed a button. It helped me save a ton of time and it was totally worth it. Here I’m going to share how I built it in exactly 2 hours before going to work, including the 3D-printed casing.
Warning!
This is definitely not the safest option, and it was definitely against the company's IT security policy.
Think about it! If I lost the "password button", and whoever found it knew where I worked, had access to the building, knew the location of the workstation I was using and the user ID associated with the password (a generic alphanumeric code almost as complex as the password itself!), they could have access to the company's intellectual assets!
Not a highly probable scenario, in my opinion, so I went with it anyways. But be warned! and use at your own risk.
Disclosure
To make this project, I simply followed the official Arduino example for Keyboard usage. What I’m sharing here is the slightly modified version of the sketch, and the way I used it to make a password button.
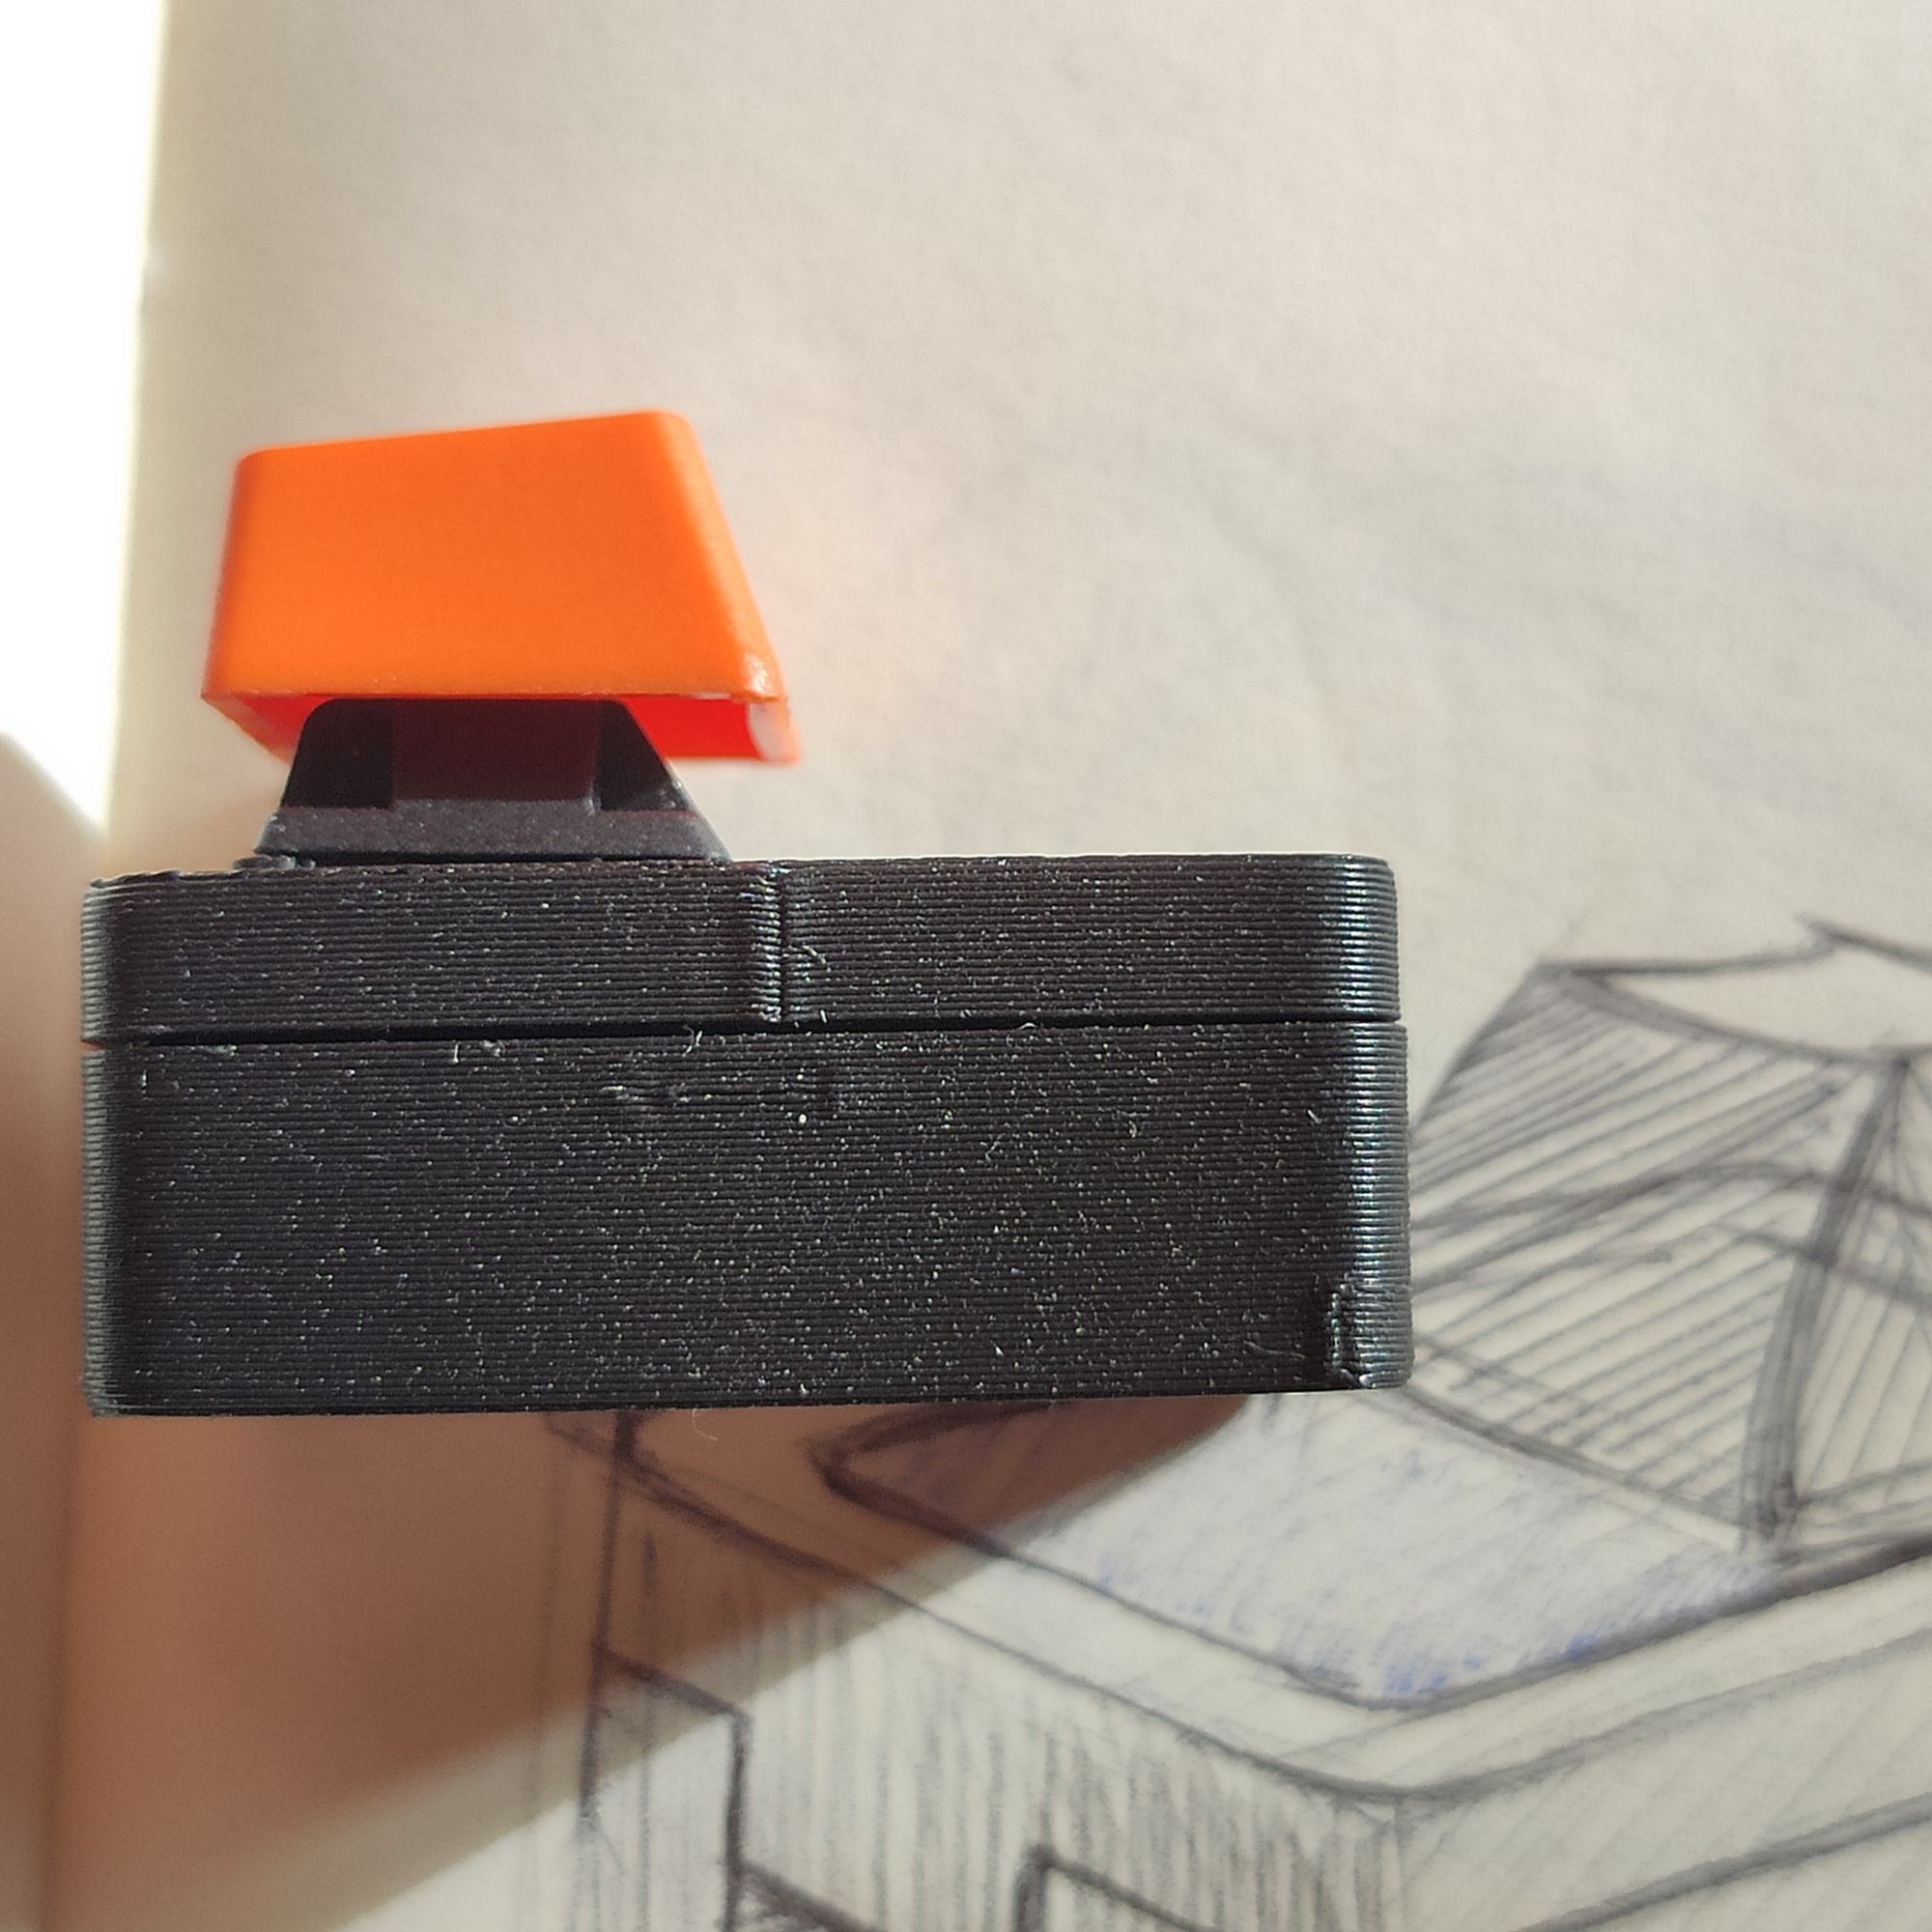
The materials
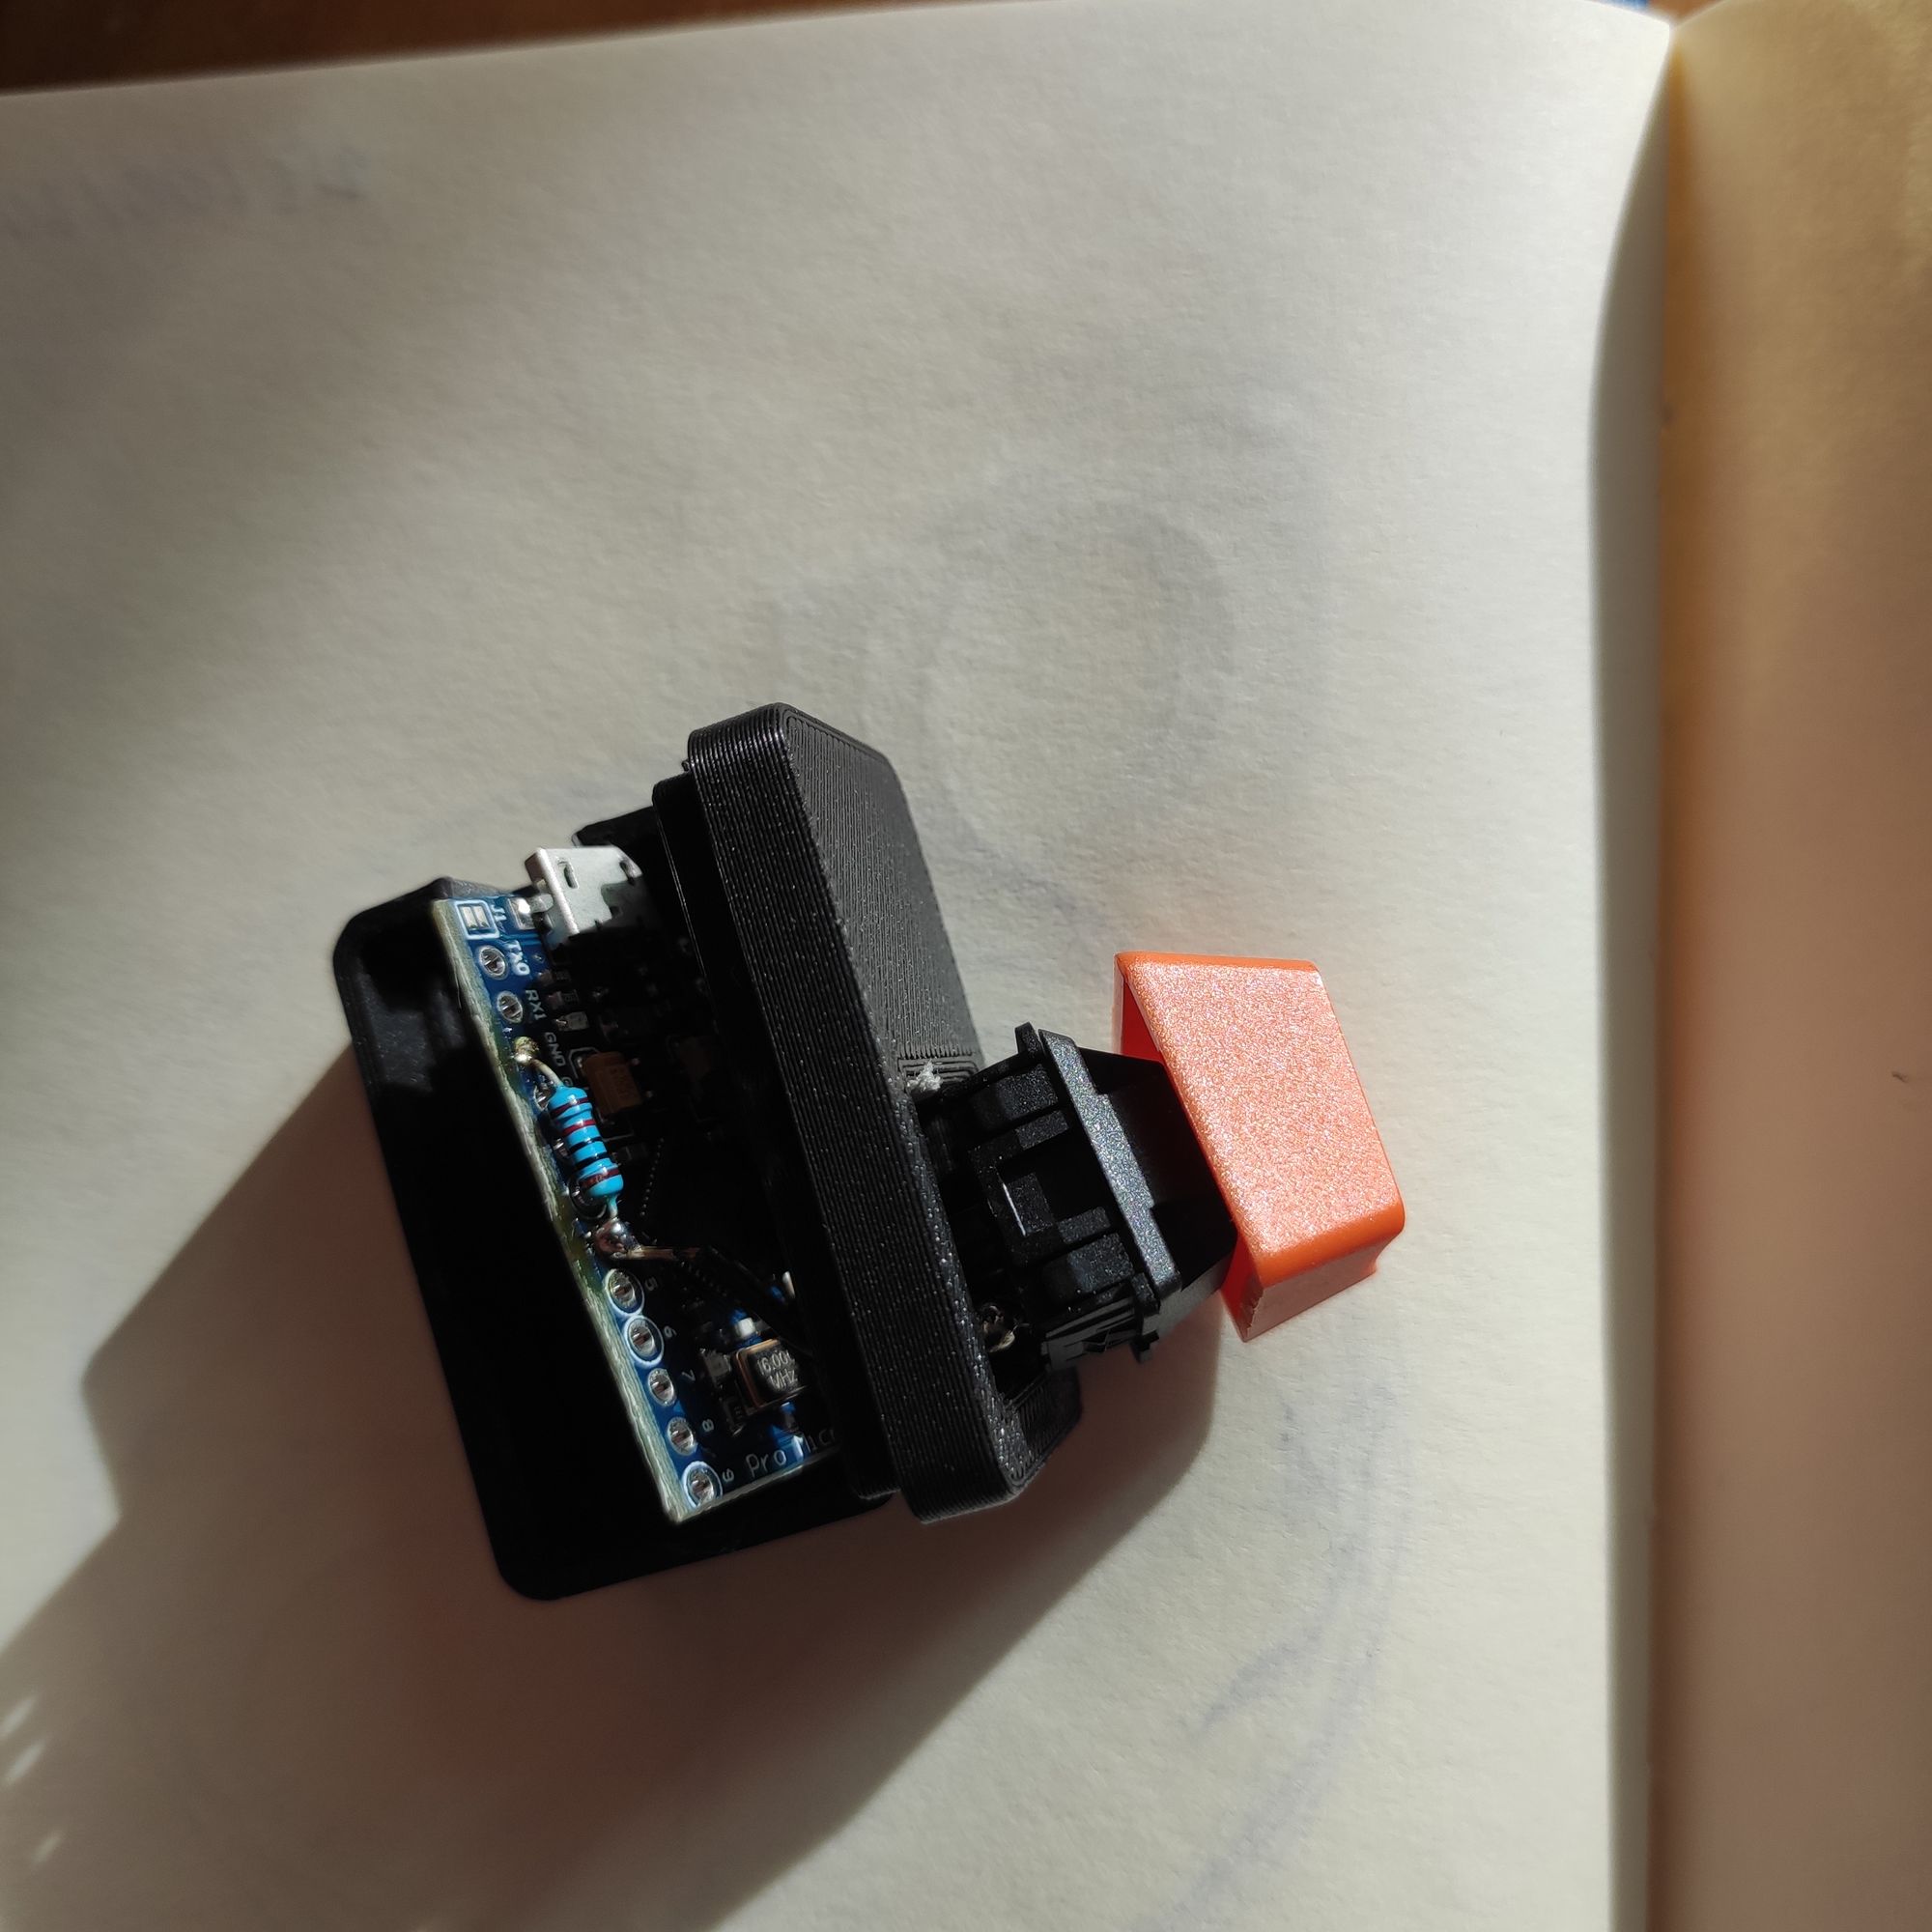
- Arduino Pro Micro
- 10kohm resistor
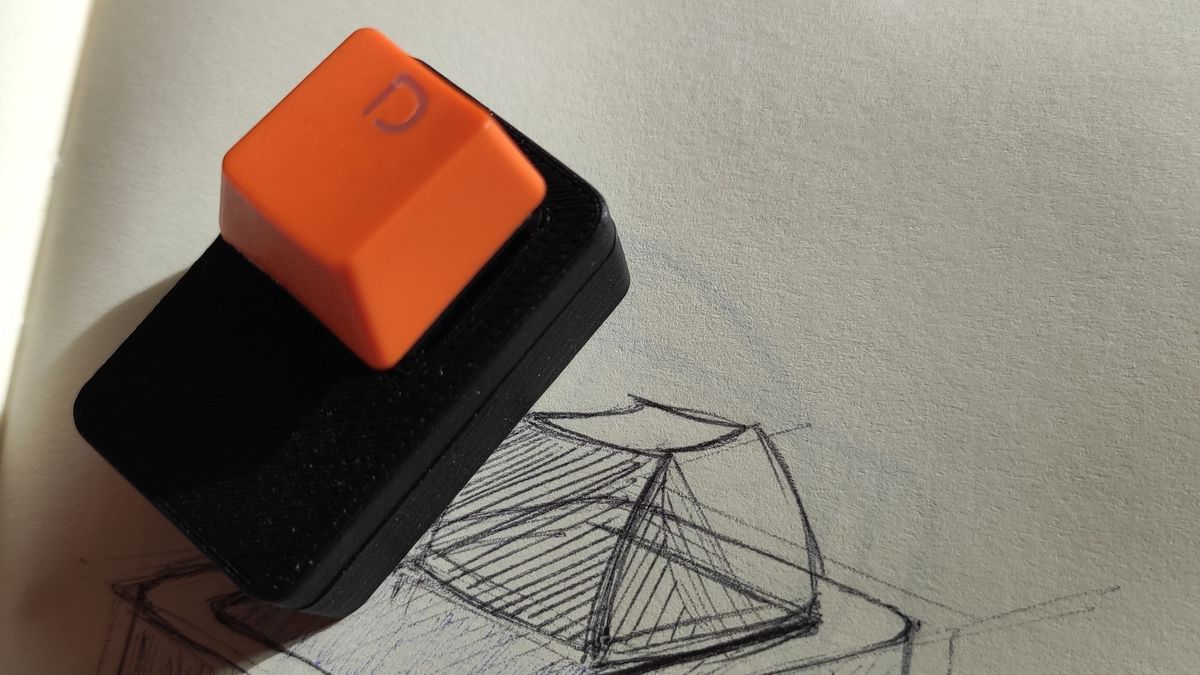
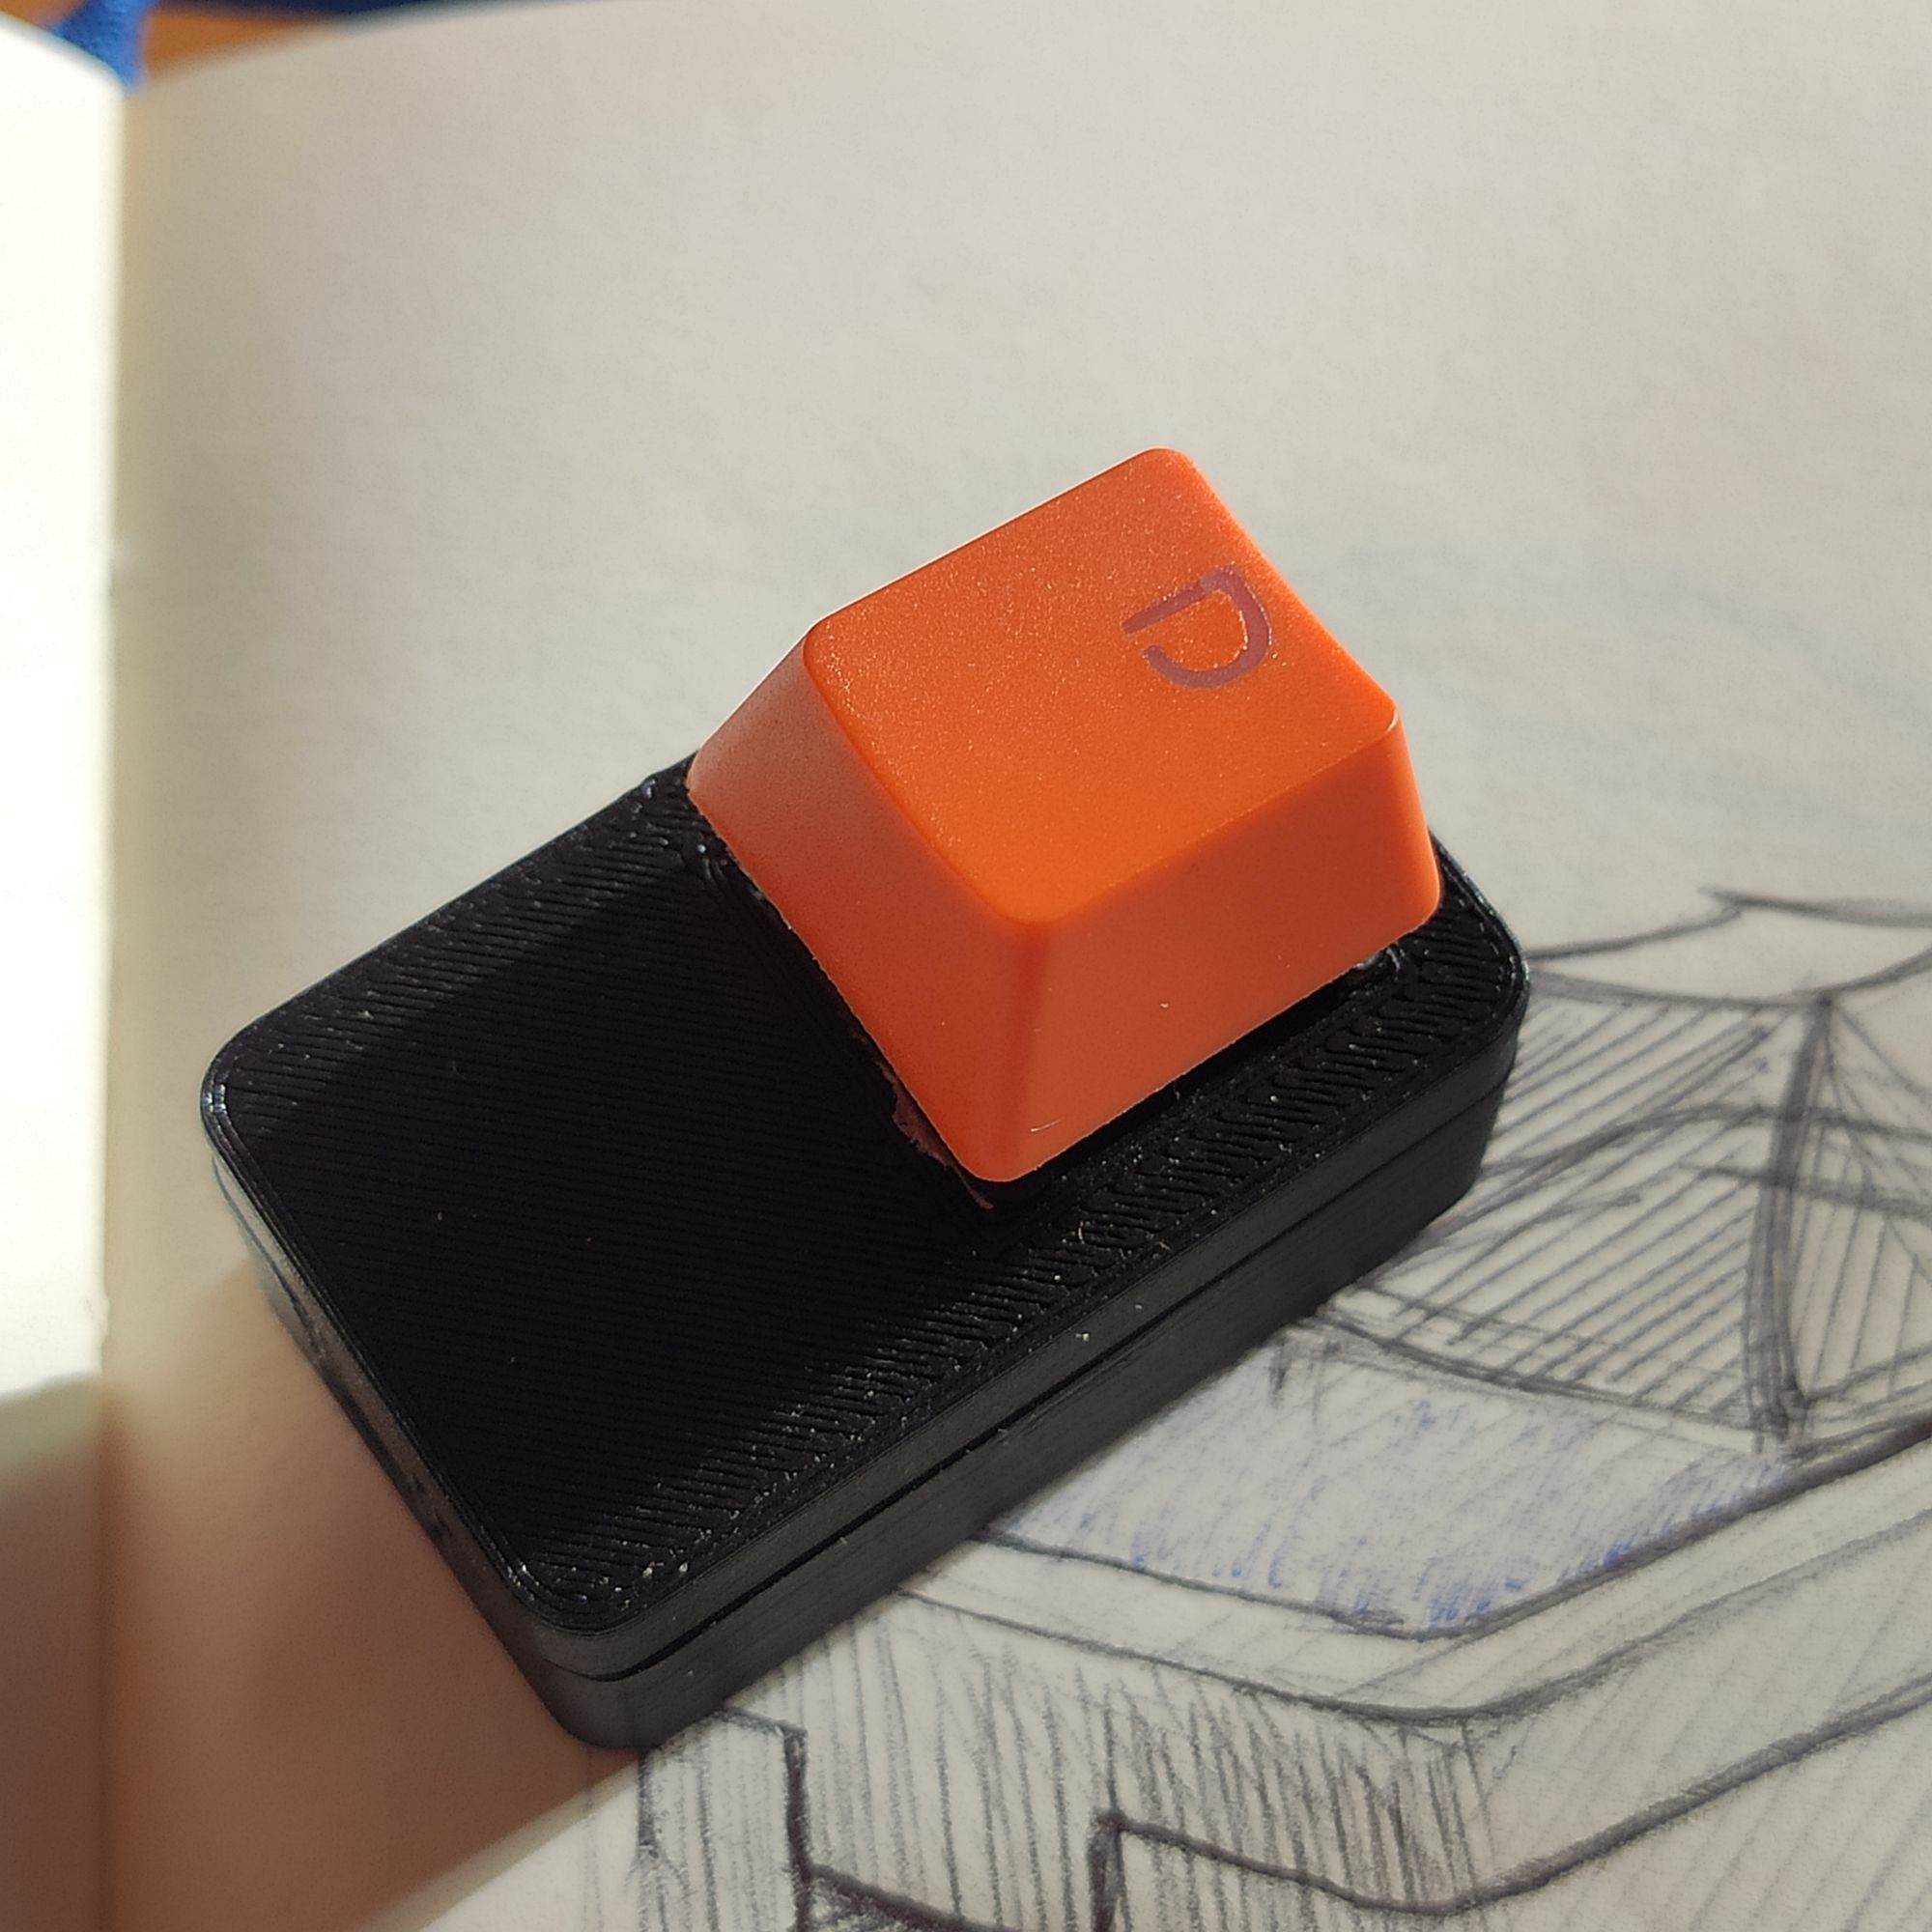
- Cherry MX keyboard switch and keycap - optional, any momentary push button would work, but the mechanical switch does make it a lot cooler.
- Some wires
- Soldering iron and tin - optional, you could make this in a breadboard just for testing it.
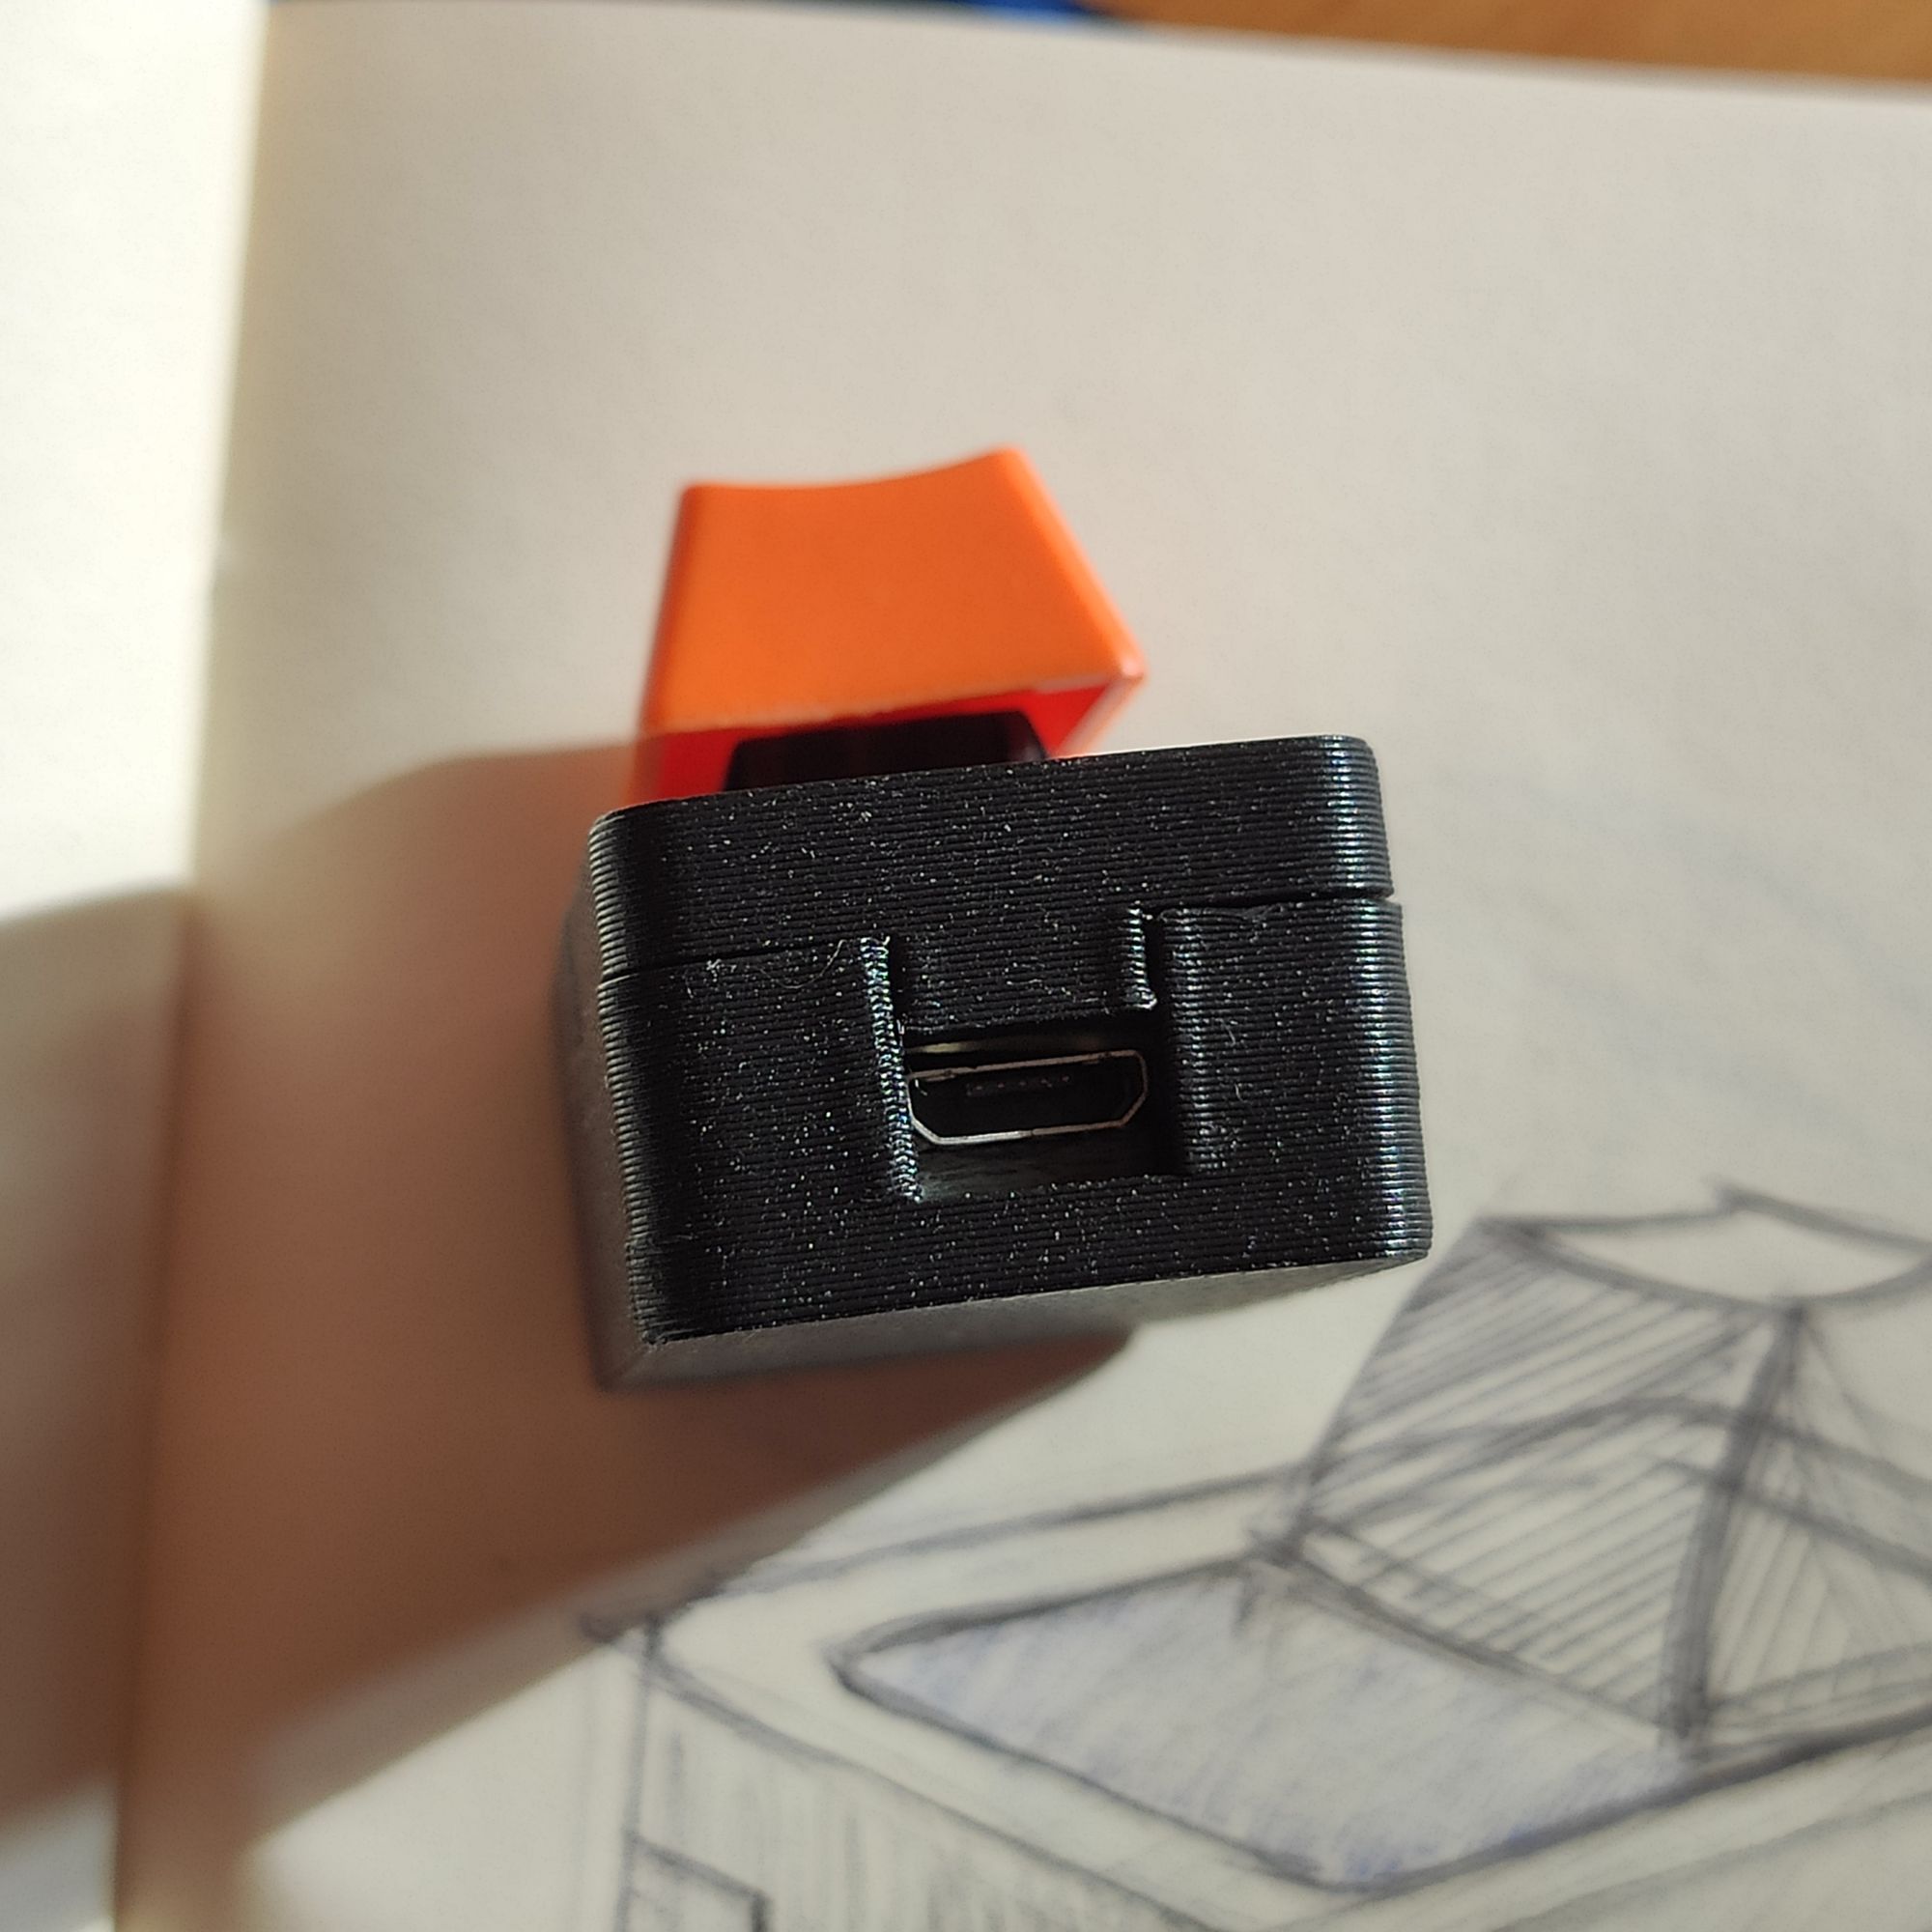
- 3d printed case - optional, you could use whatever you want.
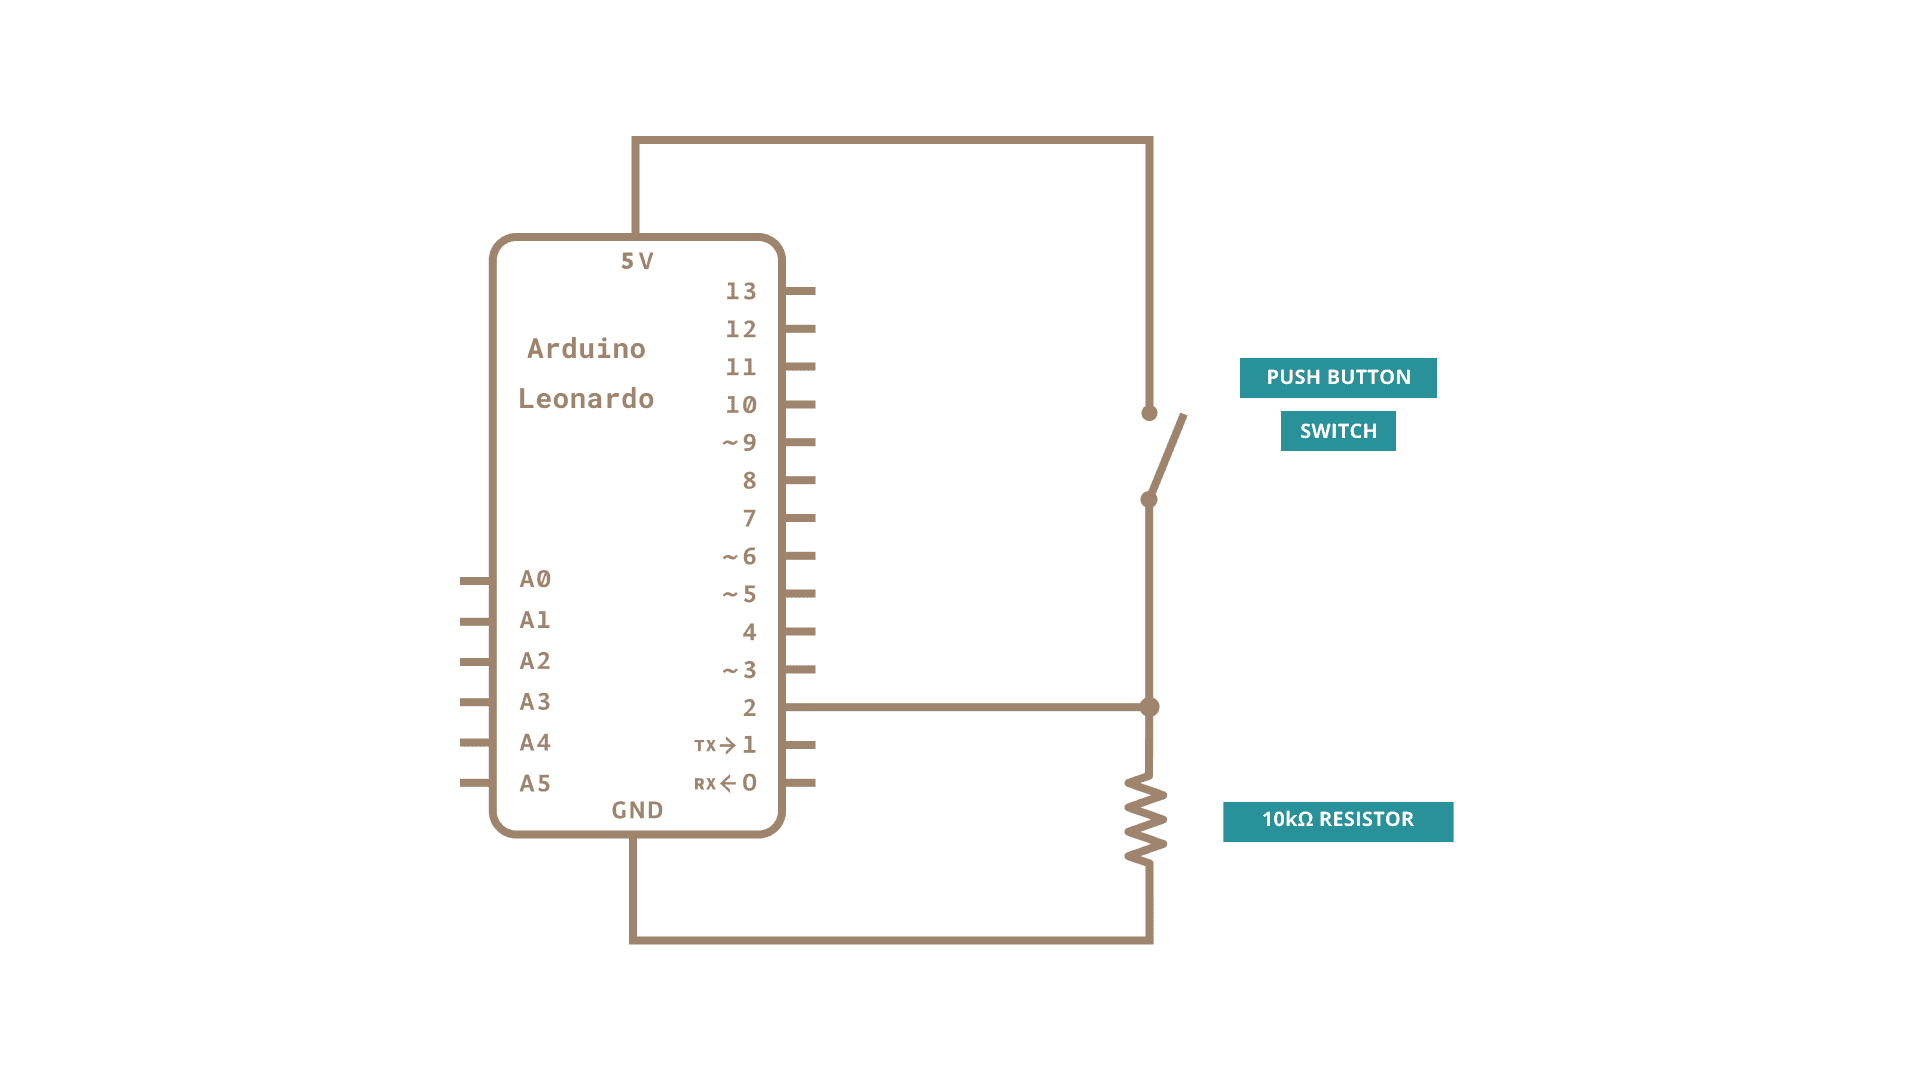
The circuit
Connect one lead of the switch (or the push button you are using) to pin 4 of the Arduino Pro Micro, and the other one to VCC (+5V).
Connect the 10 kilohm resistor from pin 4 to ground (GND).
/*
  Keyboard Message test

  For the Arduino Leonardo and Micro.
  Sends a text string when a button is pressed.

  The circuit:
  - pushbutton attached from pin 4 to +5V
  - 10 kilohm resistor attached from pin 4 to ground

  created 24 Oct 2011
  modified 27 Mar 2012
  by Tom Igoe
  modified 11 Nov 2013
  by Scott Fitzgerald

  This example code is in the public domain.

  <http://www.arduino.cc/en/Tutorial/KeyboardMessage>
*/

#include "Keyboard.h"

const int buttonPin = 4;          // input pin for pushbutton
int previousButtonState = HIGH;   // for checking the state of a pushButton

void setup() {
  // make the pushButton pin an input:
  pinMode(buttonPin, INPUT);
  // initialize control over the keyboard:
  Keyboard.begin();
}

void loop() {
  // read the pushbutton:
  int buttonState = digitalRead(buttonPin);
  // if the button state has changed,
  if ((buttonState != previousButtonState)
      // and it's currently pressed:
      && (buttonState == HIGH)) {

    // type out the string you want to write using the button
    Keyboard.print("TypeTheStringYouWantToWriteHere");
  }
  // save the current button state for comparison next time:
  previousButtonState = buttonState;
}
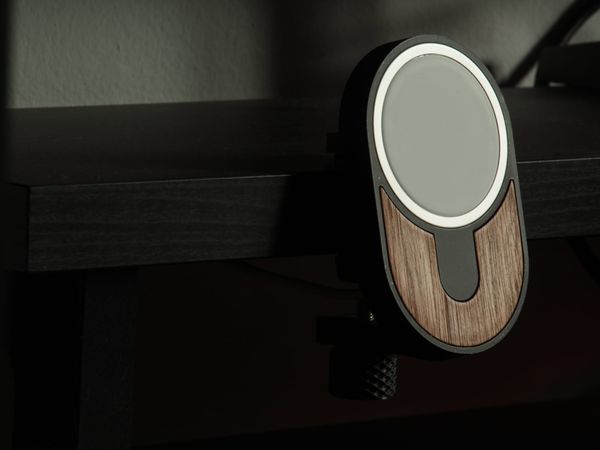
The 3D-printed case
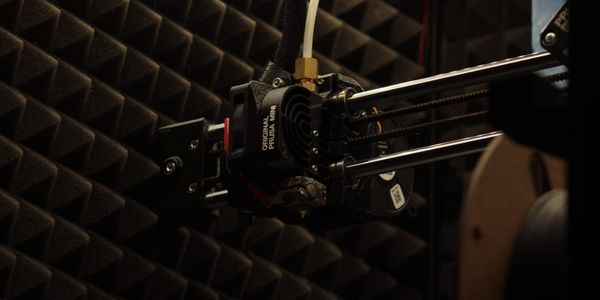
To keep everything nice and clean, I designed a 3D printed case using Autodesk Fusion 360. This is one of the few projects in which I actually managed to create the final version for 3D printing with almost no iterations, so I’m really happy about that. The F3D file and STLs for 3D printing are available on GitHub.
Making a password button helped me save time, and learn about how easy it is to use an Arduino Pro Micro as a USB device. The side effect: now I'm into mechanical keyboards and macropads.
I hope this short story was inspiring for you to try making your own USB devices using an Arduino!
Thanks for reading, and until the next time!
By the way, this happened around the time when I didn’t have a Matlab license on my own PC and decided to use Python to replace it.