Using Autodesk Fusion's flat pattern feature
I share my workflow on Autodesk Fusion to export flattened surfaces for laser cutting

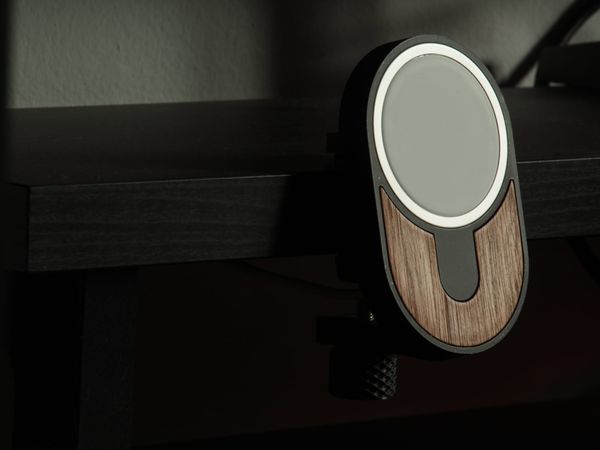
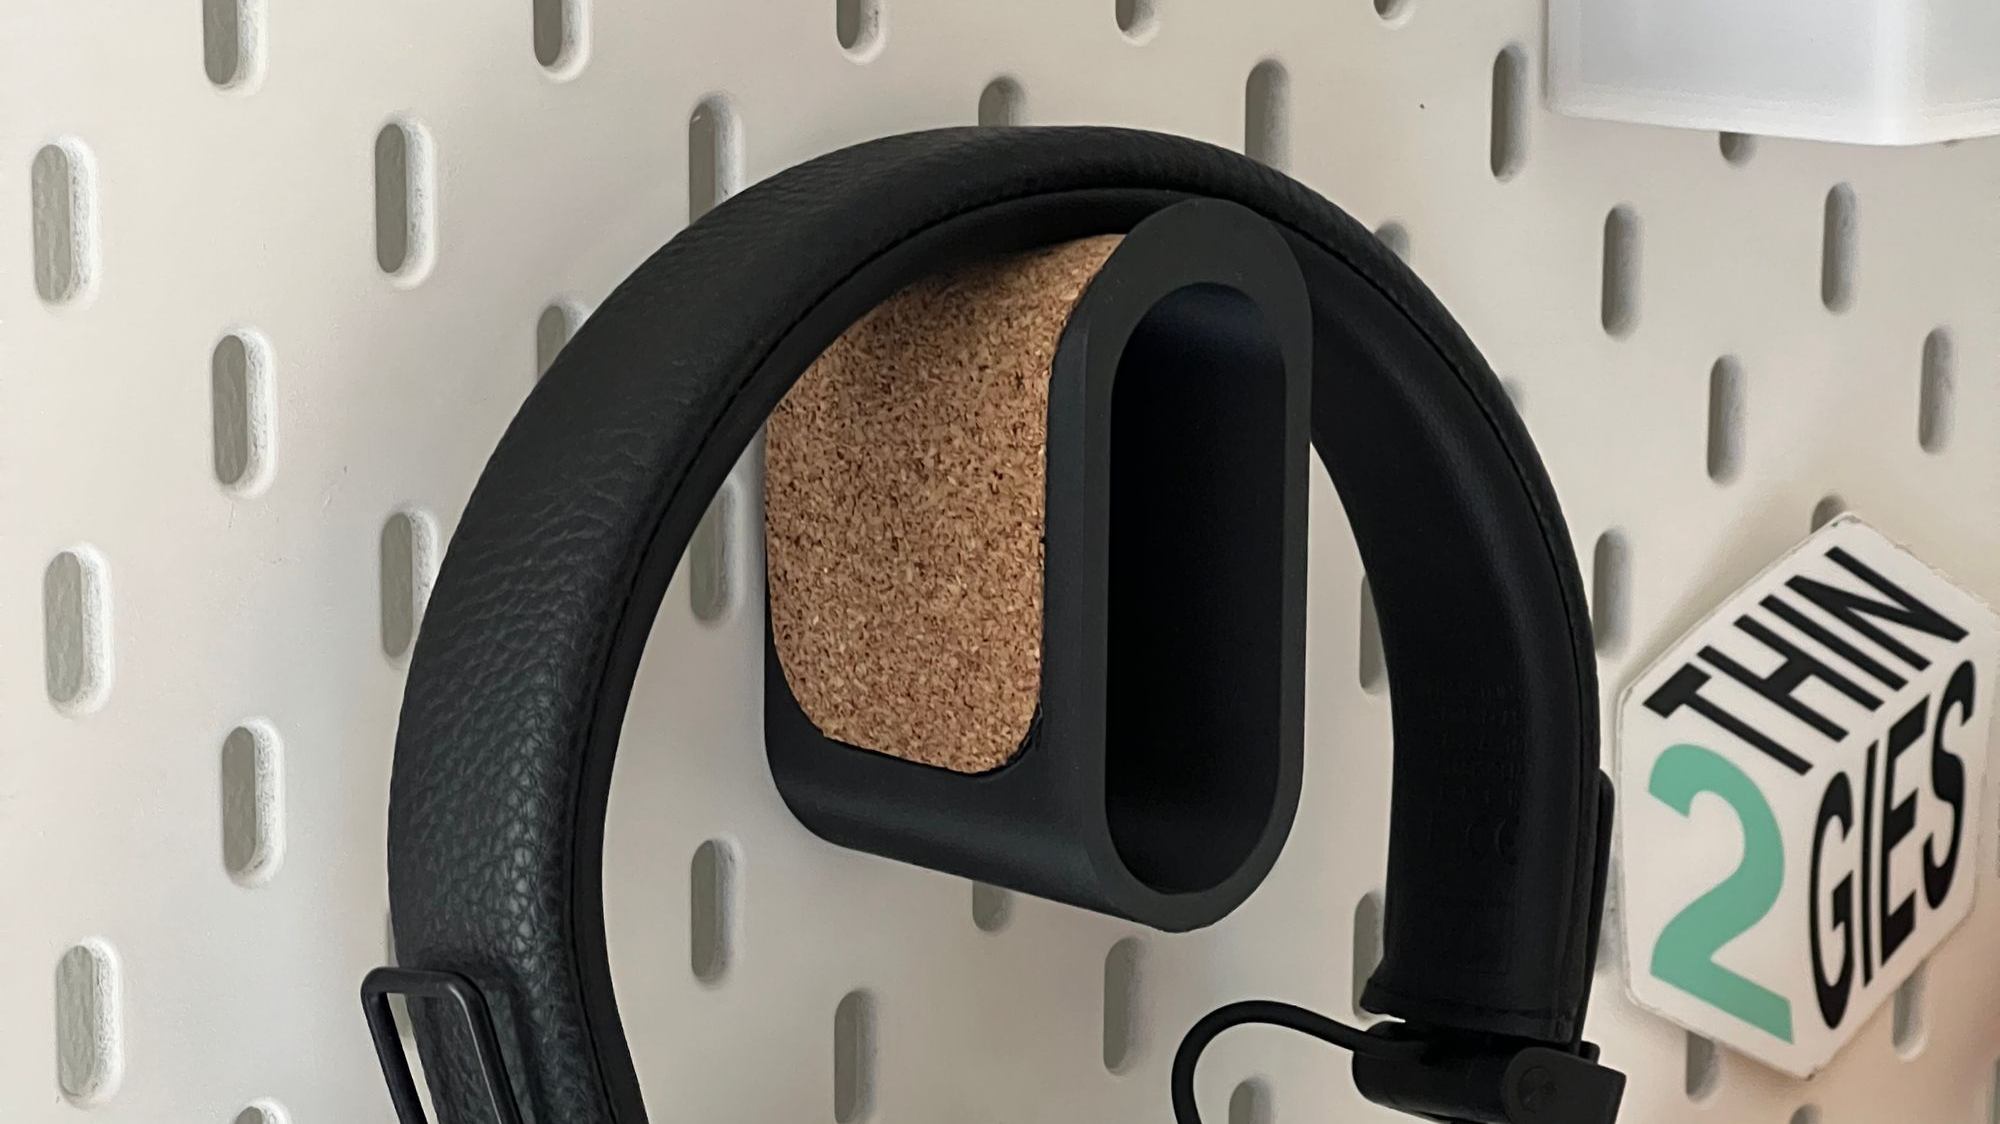
Recently, I started combining laser-cut cork pads with 3d printed parts.
I’m experimenting with different designs, including a headphone holder with a cable storage compartment.
The fully-printed design was fine, but I also added a cork padding on the top to prevent the hard plastic from leaving marks on the soft material of the headband.
So I thought this was a good chance to write about my workflow to create flat patterns in Autodesk Fusion.
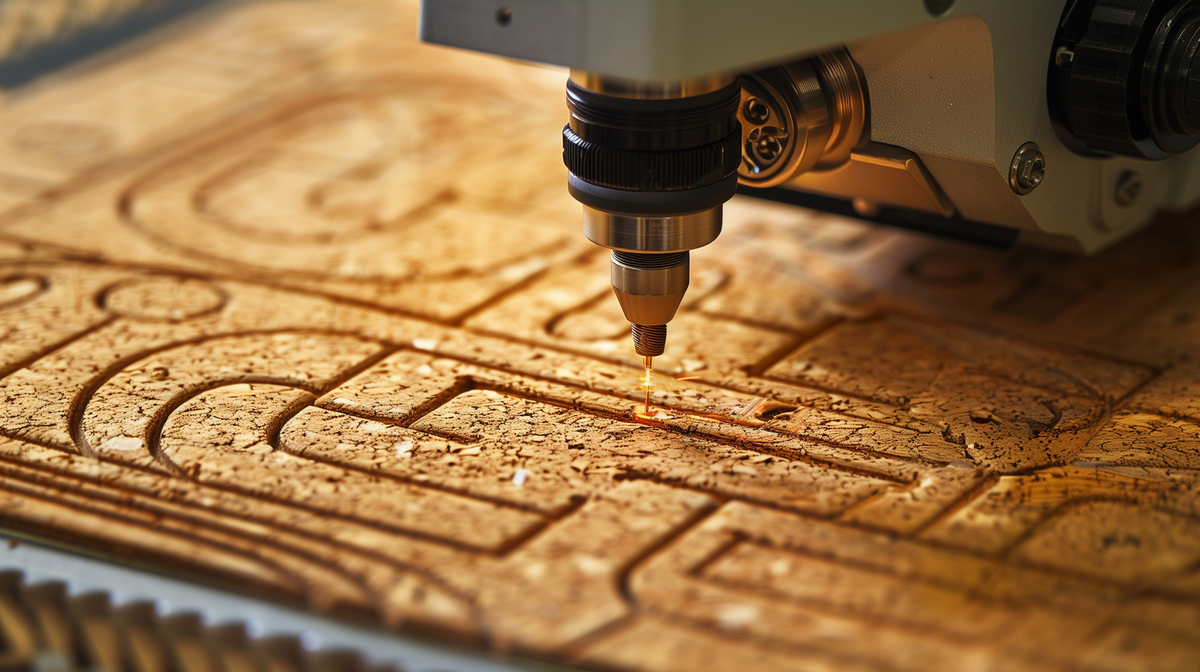
This lets me cut the contour of the cork linings to fit in the curved part, either by hand or using a laser cutter.
Feel free to adapt this to your own projects.
Index
To start, use a simple model with at least one curved face. In my case, I'm going to use the headphone holder I mentioned.
1 - Make a pocket the size of the padding
Obviously, this depends on the part you are working on, but the idea is to prepare a recessed geometry where you will insert the soft padding.
I created a sketch on one of the sides of the holder and added an offset to define the depth of the pocket. I had 2 mm cork sheets so I made a 2 mm offset.
Notice that in this case, I made an offset of a continuous profile, and I had the option "enable chaining" selected. To avoid cutting the whole profile, I interrupted it with two small sketch lines on the sides so I could select only the upper section.
Then, to make the pocket I used the Extrude command. I didn't want the cut to start from the face I used to make the sketch, so I used the Start from Offset option.
In this case, I used an offset value of -3 mm. Don't worry about the sign here, it just tells Fusion from which side of the sketch plane to start the cut.
Cutting a pocket for the soft padding
2 - Create an offset surface and add thickness
Great, now we have the space where the padding will go. Now, we need to create the padding itself.
To do this, I used the Offset Surface tool to create a surface with a 0 mm offset from the bottom of the pocket, so the new surface is coincident with the original body.
Then, I added thickness to it using the Surface/Create/Thicken tool.
Creating an offset surface and adding thickness
This combination of features (Offset + Thicken) is one of my favorites in Fusion. It also works for more complex shapes.
3 - Convert to sheet metal feature and create a flat pattern
Unfortunately, Autodesk Fusion doesn't have (at the time of writing this) a feature like Solidwork's Flatten Surface, that let's you take any surface body (even curved ones with organic shapes) and, as the name implies, flatten it.
To accomplish something similar (but very limited) in Fusion, we need to use Flat Patterns, available only for Sheet Metal features.
So here's what I do.
Under the Sheet Metal tools tab, there's Create\Convert to Sheet Metal. I selected the body representing the padding and clicked OK to convert it.
Then, I used Create Flat Pattern, under the same tab.
The feature prompts me to select the stationary face, so I just need to select one of the flat faces and hit OK to see the flat pattern created.
Creating a sheet metal feature and flat pattern
To exit from the flat panel view, you just need to click on Finish Flat Pattern but don't do that just yet.
4 - Create a sketch on the top face and export as DXF for laser cutting
This is the final step.
When you are in the flat panel edit mode, there is an option on the top ribbon to Export as DXF. This exports both the geometry (contour of the flat shape) and the bend lines, even if you hide them in Fusion.
If you don't want to remove the bend lines manually from the exported file, you can do what I do.
I create a sketch on the flattened body, project the geometry into it, and then export the sketch as DXF. This way get just the contour and I can send that for the laser cutting service I'm using (need to get a laser cutting machine!).
Exporting as DXF for laser cutting
5 - Tip: Flat Patterns from more complex surfaces
If you are working with a surface that has a more complex curvature and no flat faces, the Convert to Sheet Metal tool will give you an error.
To work around this problem, you can create a small flat face or tab to use as reference face, convert the body to sheet metal, and create a flat pattern.
Then, on the Flat Pattern view, you can cut the tab before exporting the design.
Creating a flat pattern for a more complex surface
This will get the job done for some more complex surfaces, but it still may not work in some cases (Fusion is still very limited for creating flat patterns, compared to other CAD software like Solidworks or Rhino).
In any case, it's worth giving it a try if you encounter some errors.
Conclusion
As you can see creating this kind of inlay is really easy.
I didn't include any steps to reduce the size of the padding to ensure it fits, so you might be wondering about that. The reason is that I prefer to adjust the laser cutting process to get the right size, instead of adjusting the dimensions of the part in CAD.
Of course, in some cases if you are outsourcing the laser cutting you'd prefer to specify the exact size you need and let the laser cutting service figure out how to achieve that. In that case, you'd just need to create an offset in the sketch you export for laser cutting.
Another way of using these flattened shapes is by editing them in Inkscape or Illustrator to add aesthetical patterns that could be laser-engraved.
This is something I'm testing these days and hopefully will include soon among the products on sale at @things.designs