I'm improving my blog using schema markup
If you are writing how-to posts or guides, you should do this. For any kind of content, really.


If you are writing how-to posts or guides, you should do this. For any kind of content, really.
What is schema markup?
A site audit on SEMRush warned me that 17% percent of my pages didn’t have any markup. I had no idea what that was, so I googled it.
It turns out, schema markup is the language used by search engines to understand what the content of a website is about. It provides a way to use microdata to improve the way search engines look at your site. You can find a comprehensive definition of it on the official site www.schema.org.
Having schema markup helps search engines to match your site to specific search queries and topics, and deliver rich-form search results from your site. Important SEO stuff.
That doesn’t mean your site will automatically appear among the first search results just because you added a schema, but it will surely help.

How do I create schema markup for my site?
You can include schema markup directly within the HTML of your site, or use the resources available in the community guide for developers. However, the easiest method is to create a JSON-LD code, that you can put in your site’s header.
Luckily, there are many free websites where you can generate JSON-LD by compiling a form.
Let me show you an example. I will use TechnicalSEO.com markup generator to create schema markup for my article about how to add voice control to an LED strip using a cheap electronic board (ESP8266).
To start, go to the website, and select the type of markup you need to generate. In this case, I’m doing a how-to schema.
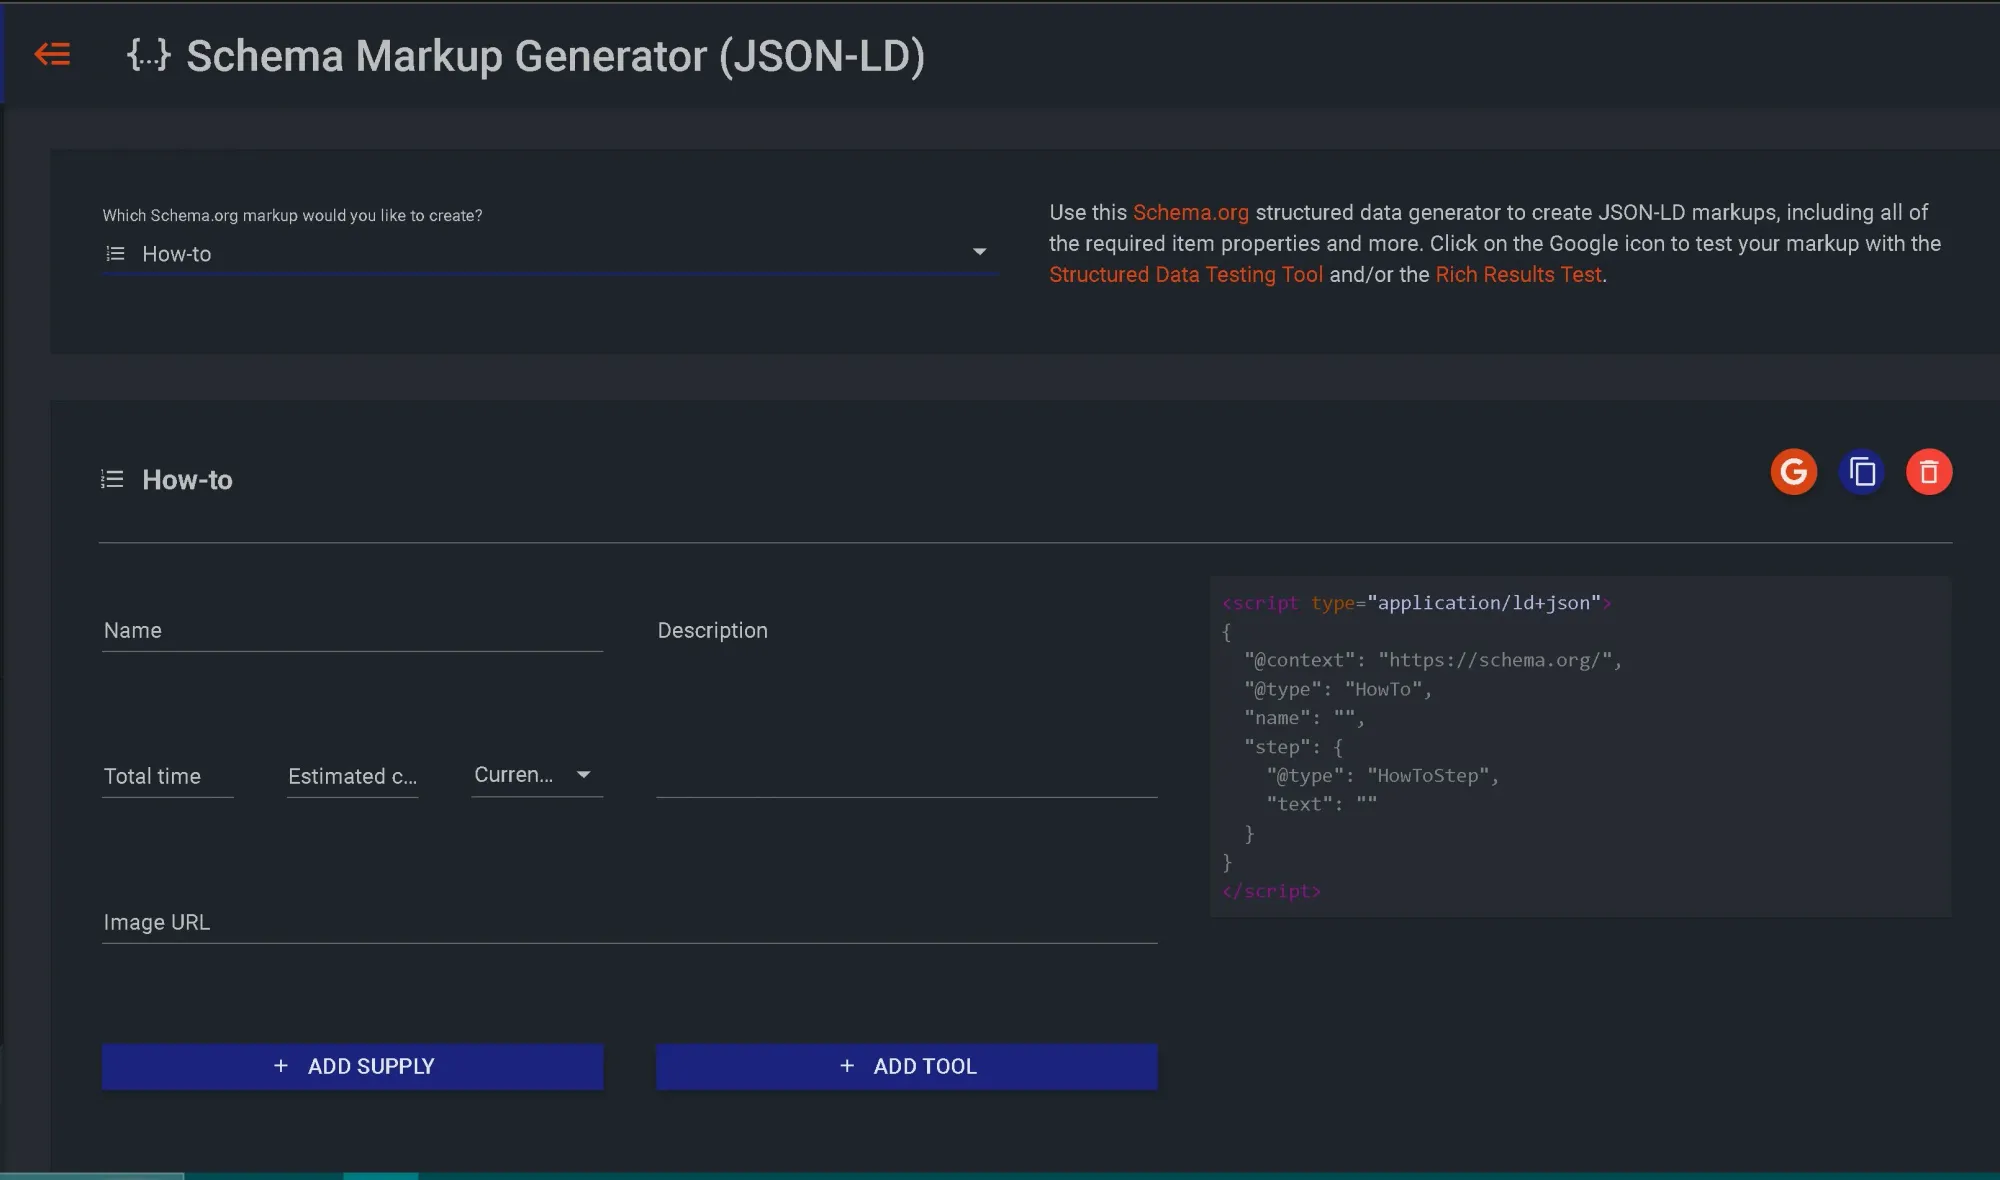
Next, I filled in the following:
Name: How to add voice control to an LED strip with Alexa and ESP8266
Total time: 120 (120 minutes, 2 hours)
Estimated cost: 10 Euro
After that, I filled in the description and added the supplies and tools needed.
Next, for the first How-to step, I added a summary of the first step described in my article:
Connect the Source pin of the MOSFET to your reference ground, and the drain to the negative lead of the LED strip. The Gate pin of the MOSFET must be connected to a digital output pin of the Wemos, in my case I used pin D3 (which is actually GPIO0). If you want or need to use a different pin, you can look at the pinout of the Wemos D1 mini development board for ESP8266. For the final circuit, you’ll need to power the Wemos D1 mini through the VCC and GND pins
In this case, the name of the step was: “Electronic connections”.
Now for the URL fields.
For the image URL field, I copied the URL of the image I used to illustrate that section of my article.
Then, I copied the link to the title of that section, and used it as URL for this How-to step. You can get any link from your original article by just right-clicking on a highlighted text and selecting “Copy Link to highlight” if you are using Google Chrome.
I basically repeated the same for the next steps

Once you finish, you can click on the copy to clipboard button on the right side of the page and you’ll have a JSON-LD text to paste wherever you need to.
In my case, since I’m using Ghost as CMS, I put it in the header section of my article (code injection feature). I learned this from this post by Mark Stosberg. Here’s what the code looks like (I edited it to keep it short for this post):
<script type="application/ld+json">
{
"@context": "<https://schema.org/>",
"@type": "HowTo",
"name": "How to add voice control to an LED strip with Alexa and ESP8266",
"description": "Using a cheap electronics board and a few components, you can control a normal LED strip through Alexa. It is a simple DIY project, ideal for beginners.",
"image": "<https://www.makerluis.com/content/images/2023/02/3d_printed_case.jpg>",
"supply": [{
"@type": "HowToSupply",
"name": "5V LED strip"
},{
"@type": "HowToSupply",
"name": "Wemos D1 mini (ESP8266)"
},
...
},{
"@type": "HowToTool",
"name": "Wire strippers"
}],
"step": [{
"@type": "HowToStep",
"text": "Connect the Source pin of the MOSFET to your reference ground, and the drain to the negative lead of the LED strip. The Gate pin of the MOSFET must be connected to a digital output pin of the Wemos, in my case I used pin D3 (which is actually GPIO0). If you want or need to use a different pin, you can look at the pinout of the Wemos D1 mini development board for ESP8266. For the final circuit, you’ll need to power the Wemos D1 mini through the VCC and GND pins",
"image": "<https://www.makerluis.com/content/images/2023/02/Schematic_ESP8266_LED_Strip_MOSFET_3pinSPSTRockerSwitch.JPG>",
"name": "Electronic connections",
"url": "<https://www.makerluis.com/diy-led-strip-voice-control-with-alexa-and-esp8266/#:~:text=the%20USB%20cable-,Connections,-Connect%20the%20Source>"
},
...
},{
"@type": "HowToStep",
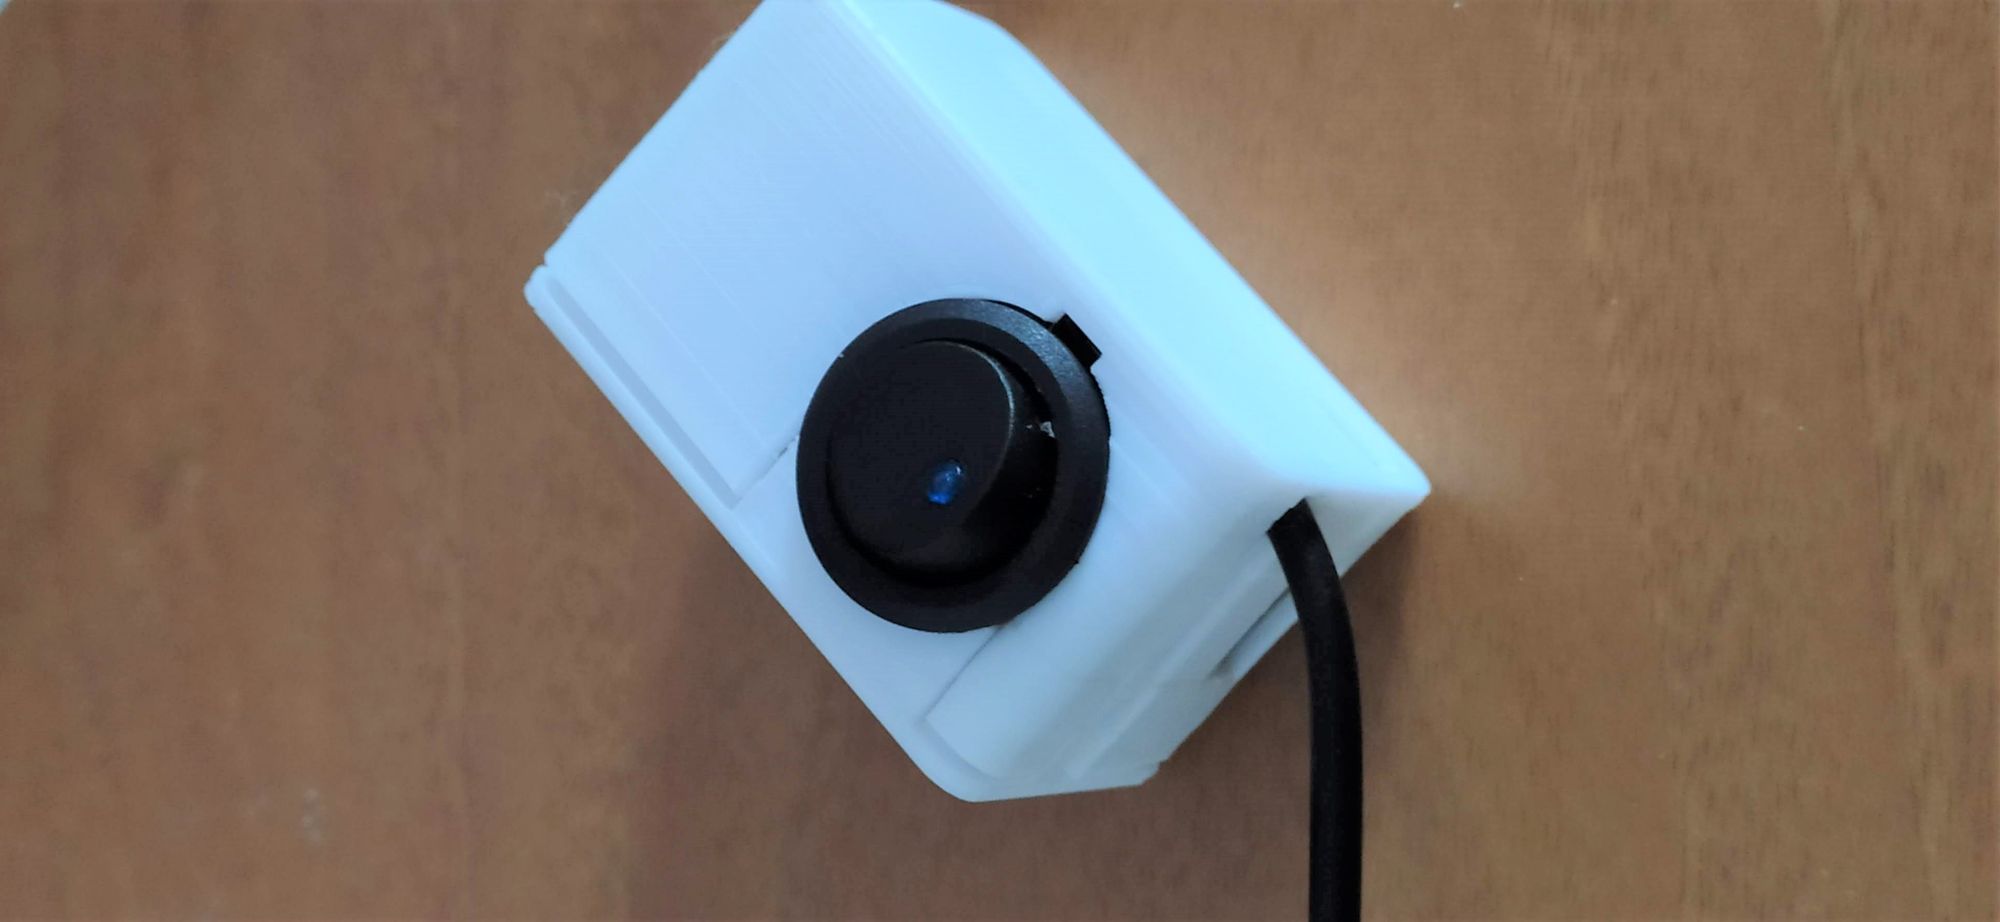
"text": "Once the test circuit works, you can solder the components and put them in an enclosure to keep them protected.",
"image": "<https://www.makerluis.com/content/images/2023/02/3d_printed_case.jpg>",
"name": "Final results",
"url": "<https://www.makerluis.com/diy-led-strip-voice-control-with-alexa-and-esp8266/#:~:text=by%20the%20author.-,Final%20results,-To%20finish%20the>"
}]
}
</script>
Going deeper with schema markup

If you want to know the exact meaning of all the fields and how they are used, you can look at the generated schema, and look for the definitions of each property here. In my case, for a How-to article, I’d use the guide for that.
There are schema properties for many different types of content, so this doesn’t apply only to how-to guides.
You can also test the schema you are using to see how it would be interpreted by search engines and spot any issues.
Conclusion
In this article, I just wanted to share something I recently learned for improving my website. I hope you found something useful here.
Until the next one.
Have an awesome day!
PS.: This is the kind of meta content I share and summarize in my newsletter. You should subscribe to it if you’d like to get tips like this one.
