Ironing settings for premium matte surfaces in BambuStudio
The settings I use to obtain premium top surfaces with high-quality, matte PLA filament
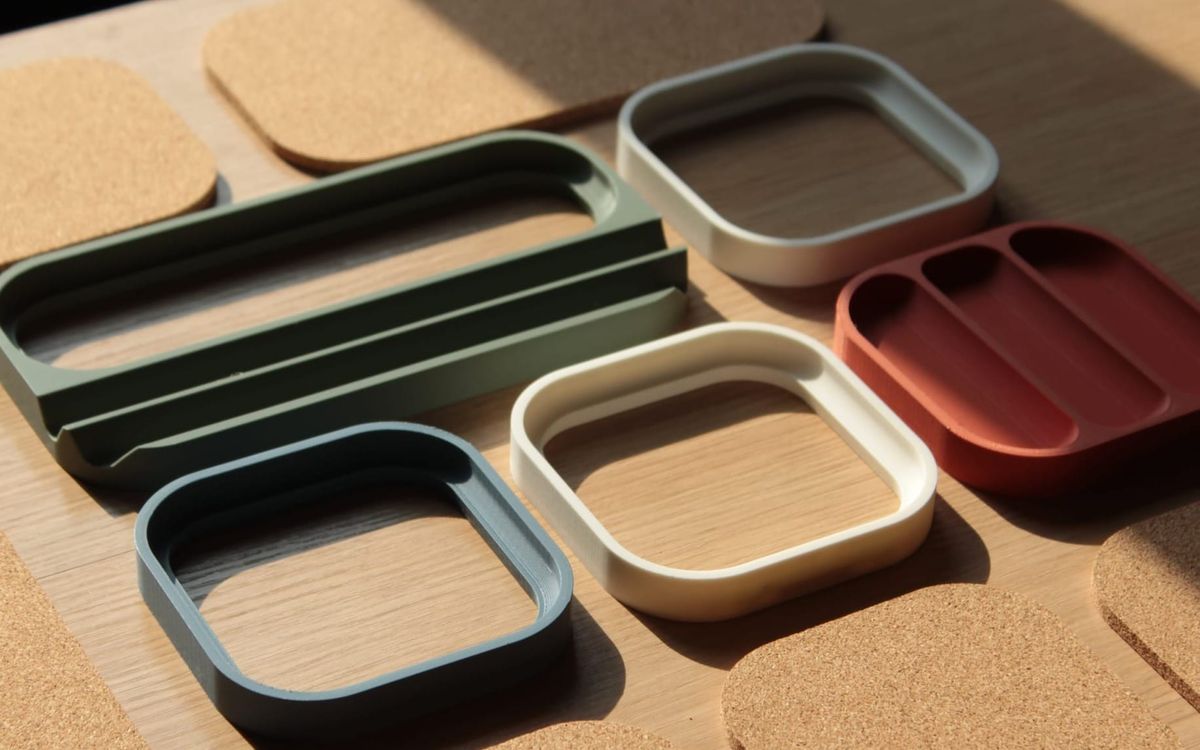
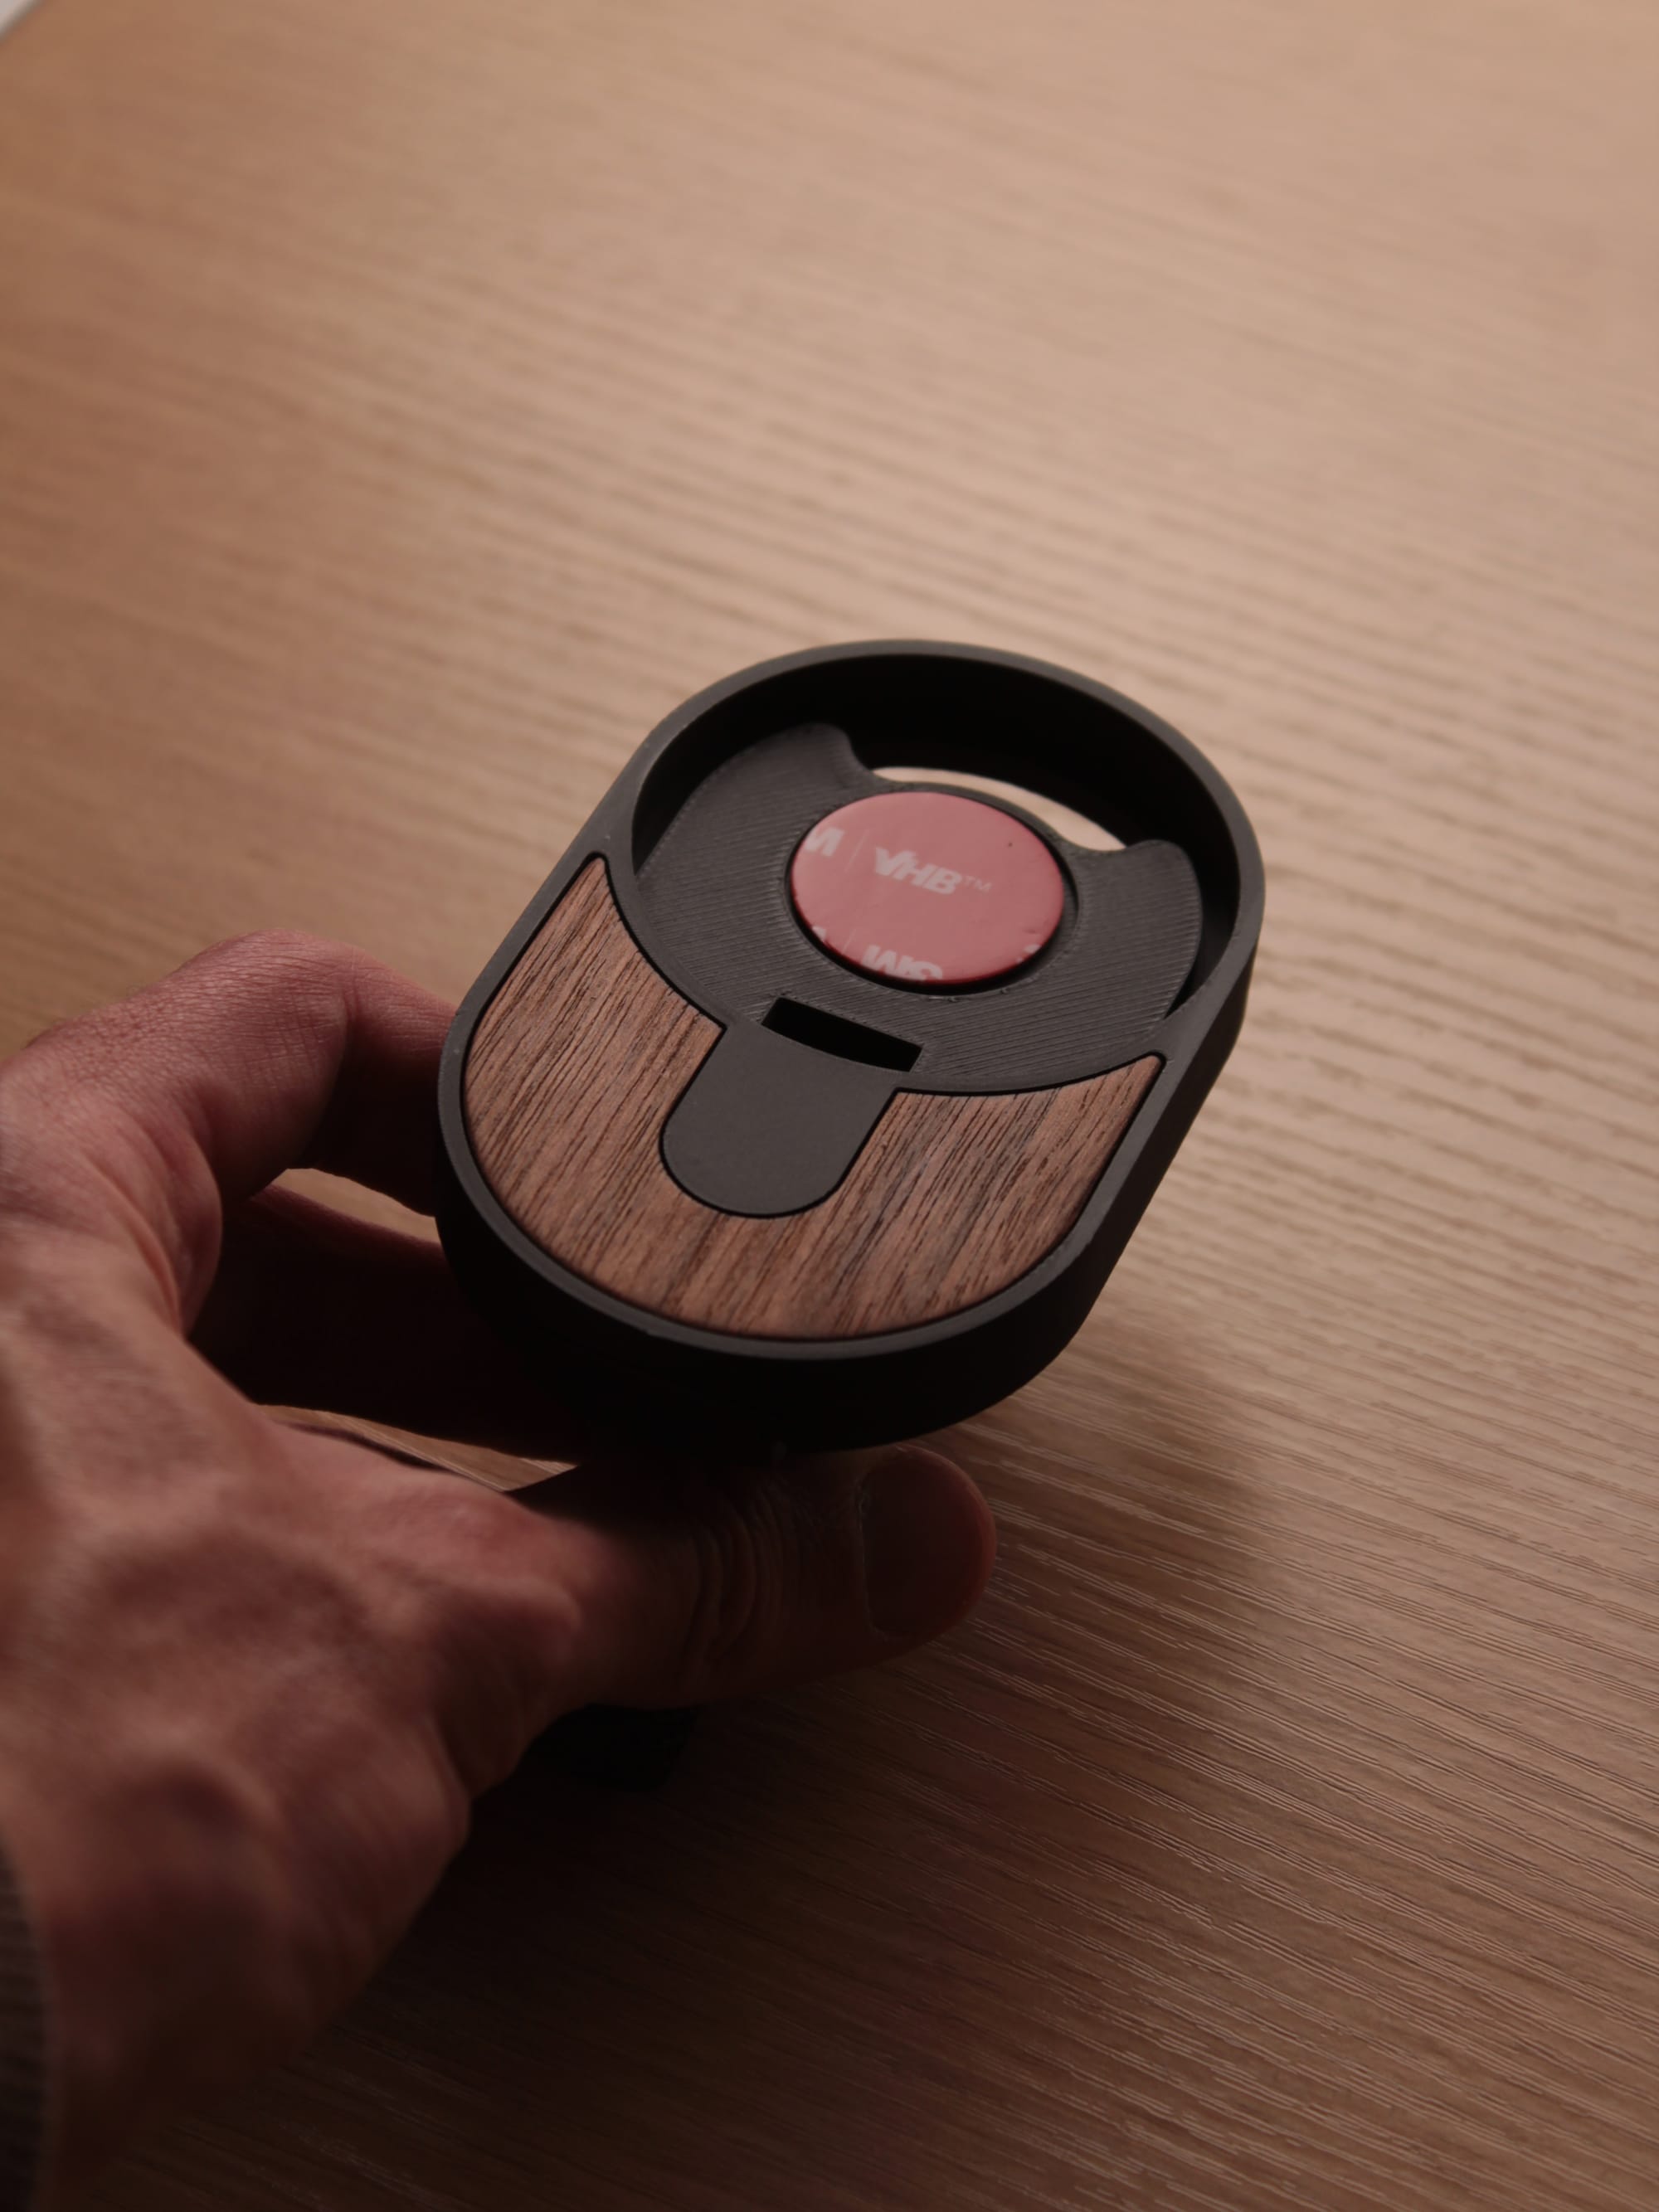
Over the past two years, I've been building Things Designs.
One of the key elements of the products I've made has been the quality of the top surfaces, which I dialed in after experimentation with different ironing settings for different filaments.
The settings I'm sharing here apply specifically to the two brands of matte filament I use. However, I'm creating a more comprehensive guide showing the process I use to dial in the settings for any PLA filament.
It will be available to subscribers.

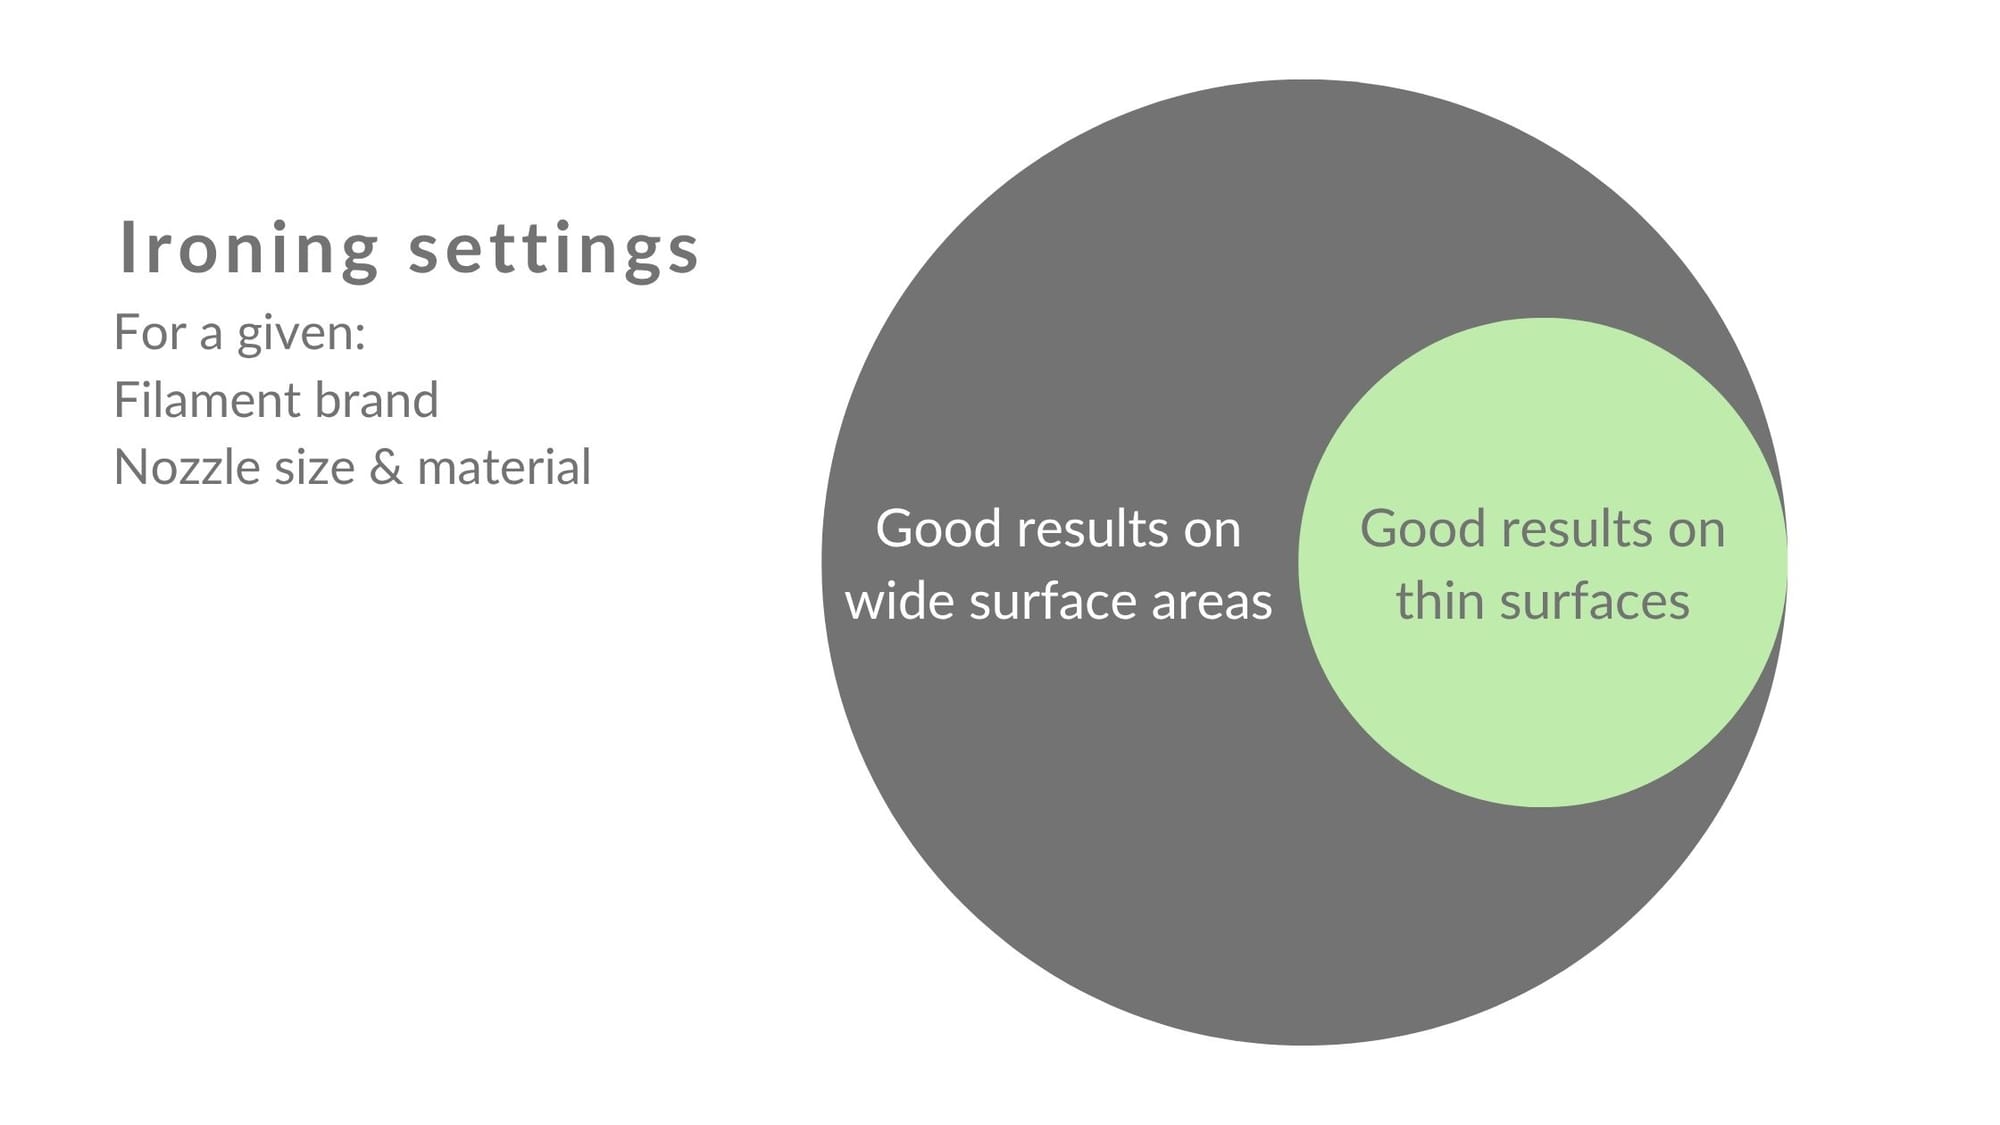
While obtaining clean, smooth finishes is relatively straightforward for 3D printed parts with wide top surfaces, I've found that achieving the same kind of results in small edges requires more testing.
Polymaker's Panchroma Matte PLA

Most of my products are made using Panchroma Matte PLA filaments (affiliate link with 15% discount), especially the muted tones.
I really like it because, despite being affordable, it's of good quality, with proper layer adhesion and consistent colors.
[Filament Preset: Polymaker Polyterra PLA]
Ironing Type: Topmost surface
Ironing Pattern: Rectilinear
Ironing speed: 30 mm/s
Ironing flow: 15%
Ironing line spacing: 0.15 mm
Ironing inset: 0.21 mm
Extruder's NX2 Matte PLA

I also use more premium filaments, like Extrudr's NX2 Matte PLA.
I absolutely love it. It's more expensive than Polymaker's, but the results are amazing.
The ironing settings I use for this one are different. It needs a faster ironing motion, which in turn requires a slightly higher flow rate. I also added a wider inset to compensate for the increased ooze from the higher speed and flow rate.
[Filament Preset: Generic PLA]
Ironing Type: Topmost surface
Ironing Pattern: Rectilinear
Ironing speed: 60 mm/s
Ironing flow: 20%
Ironing line spacing: 0.15 mm
Ironing inset: 0.4 mm
Additional Notes
These settings are meant to be input in BambuStudio under Part Process Settings>Quality Tab>Ironing.
- I use a Bambulabs P1S with a 0.4 mm nozzle
- Have at least 3 top layers and then iron on top of them. Add more layers in case you still have surface artifacts after ironing.
- Dry your filament 6 to 8 hours before printing for best results.
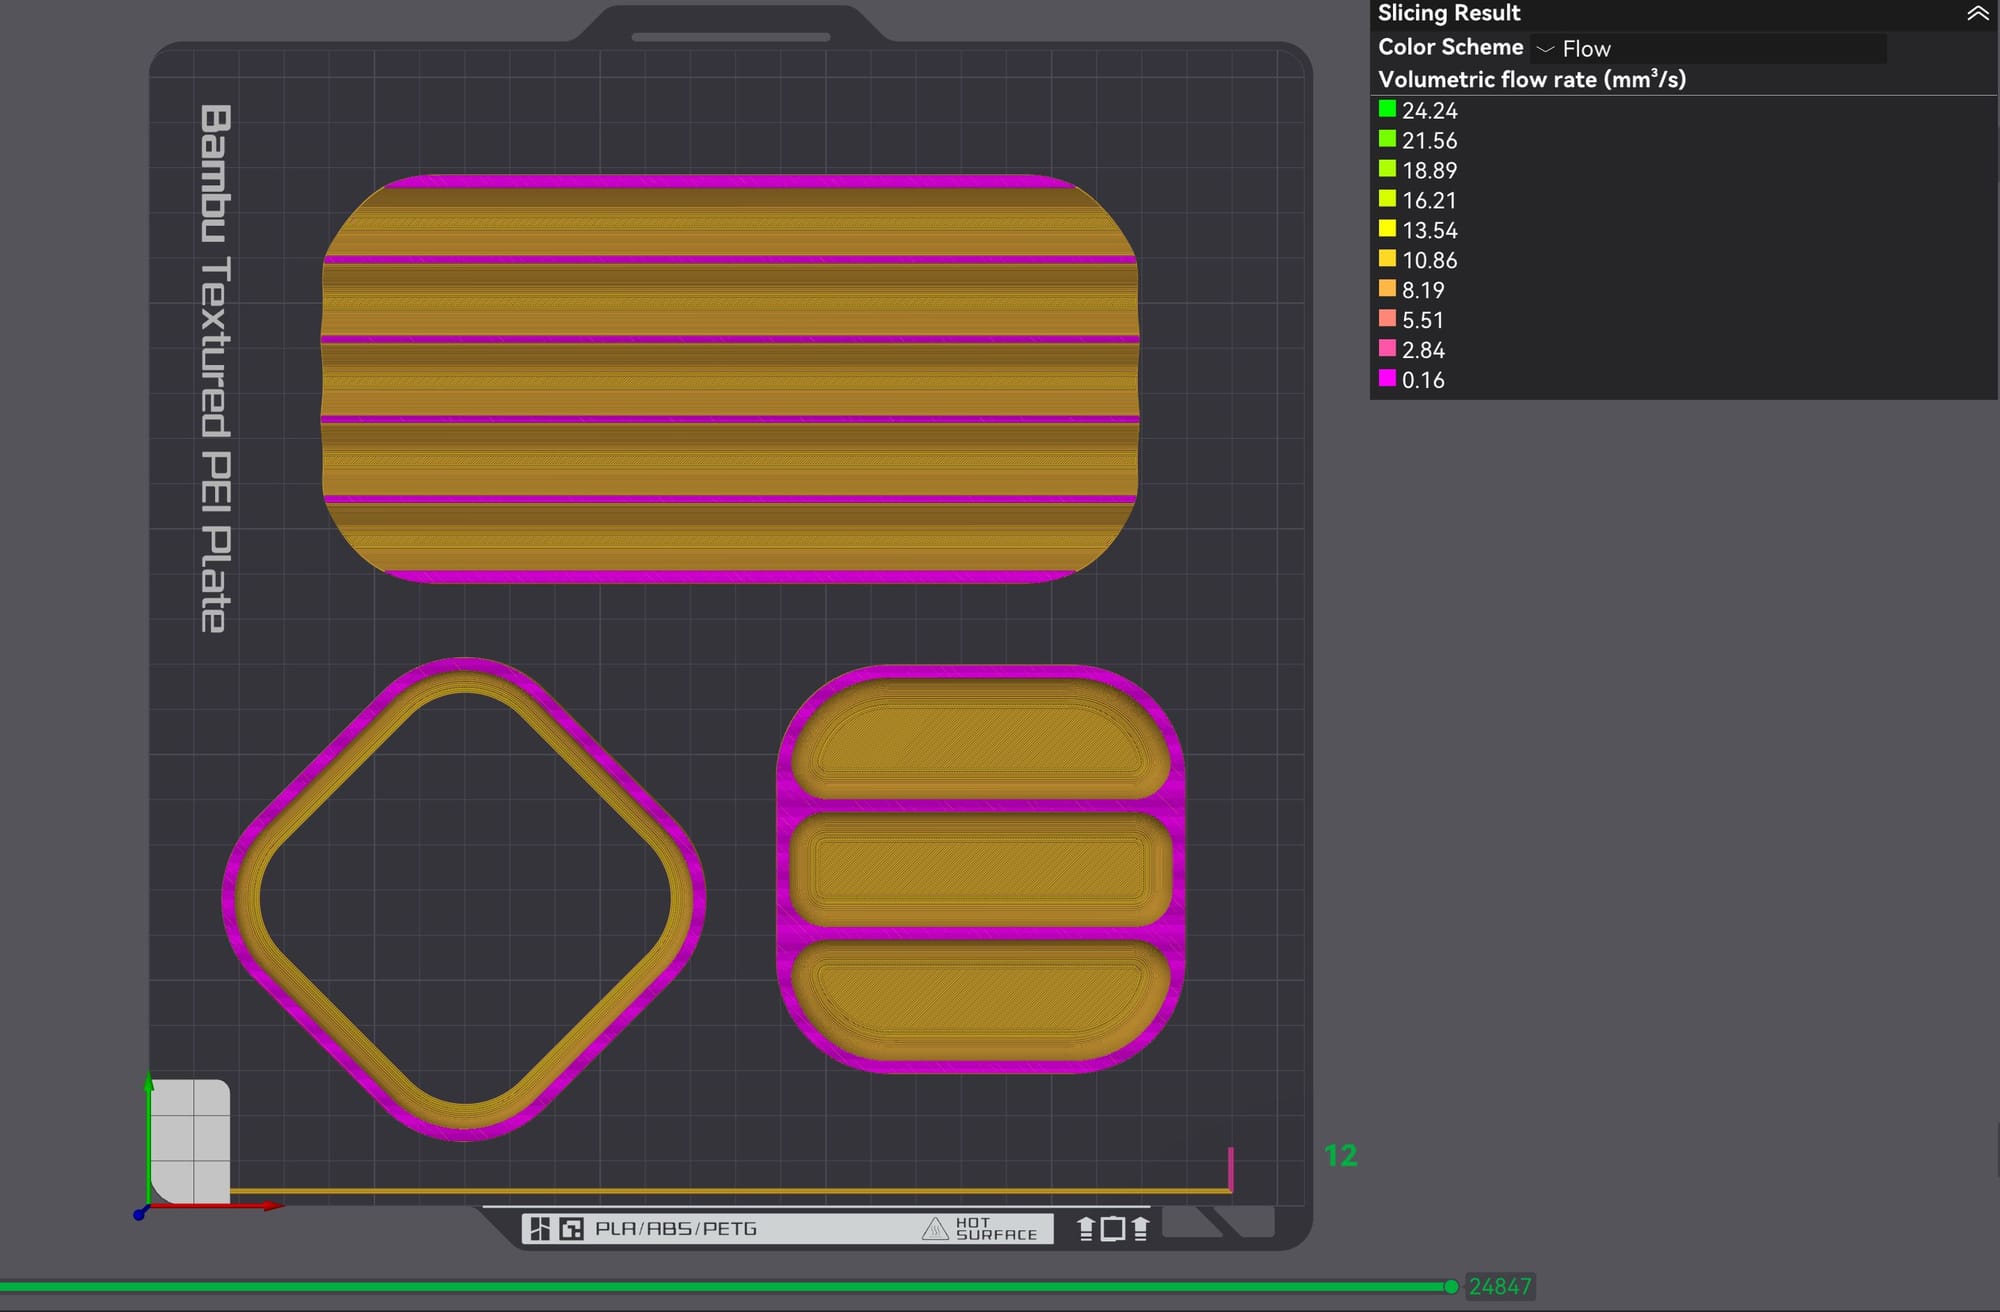
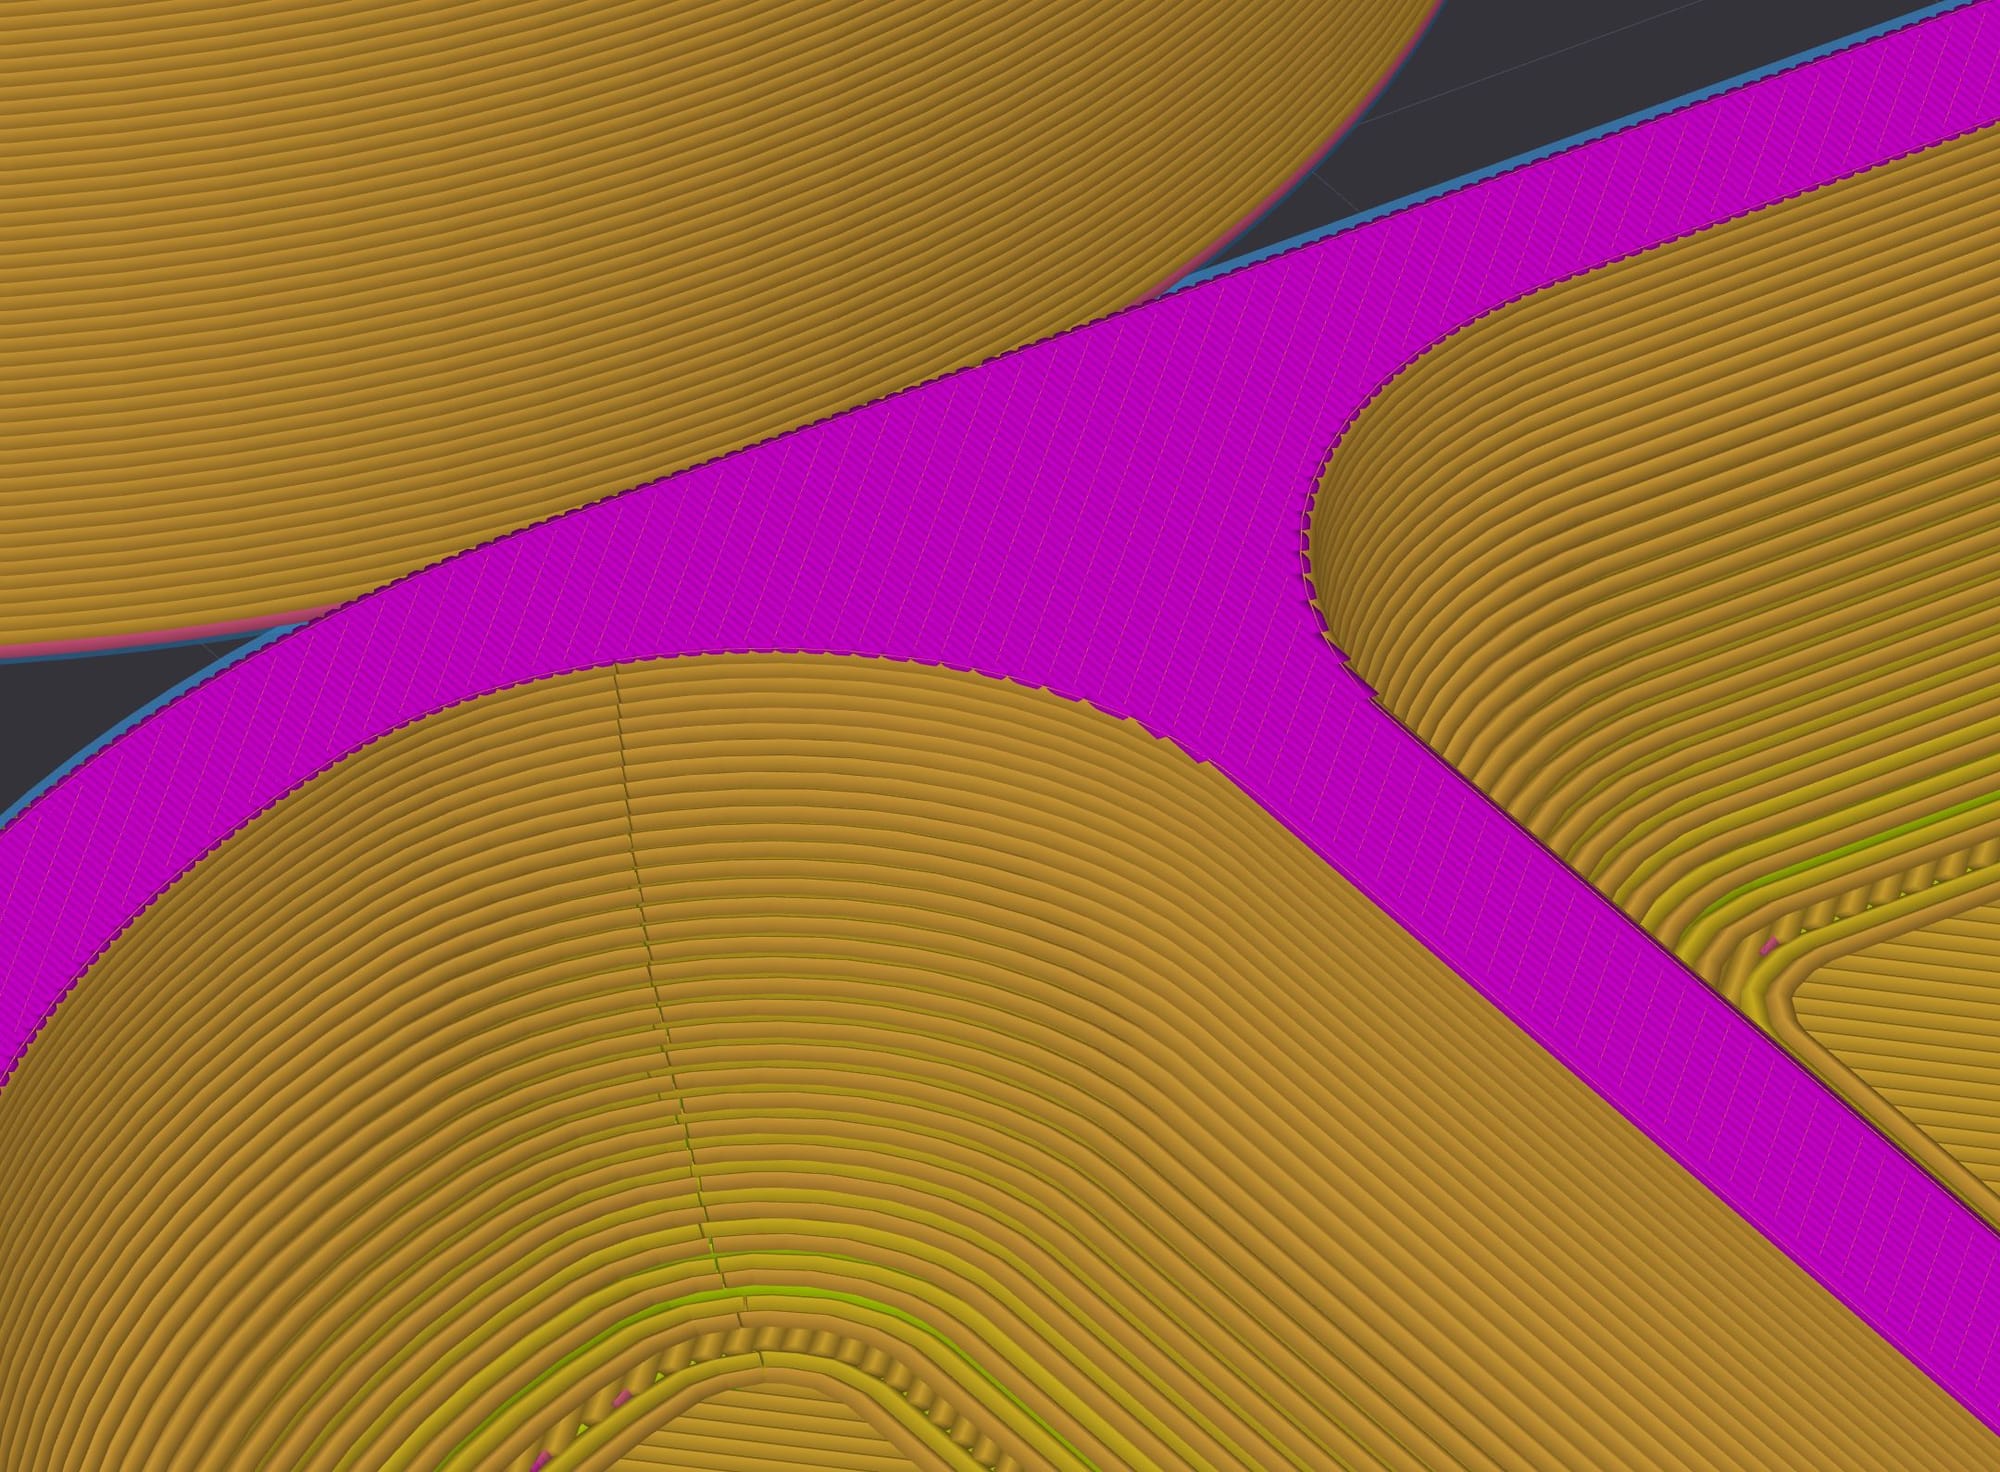
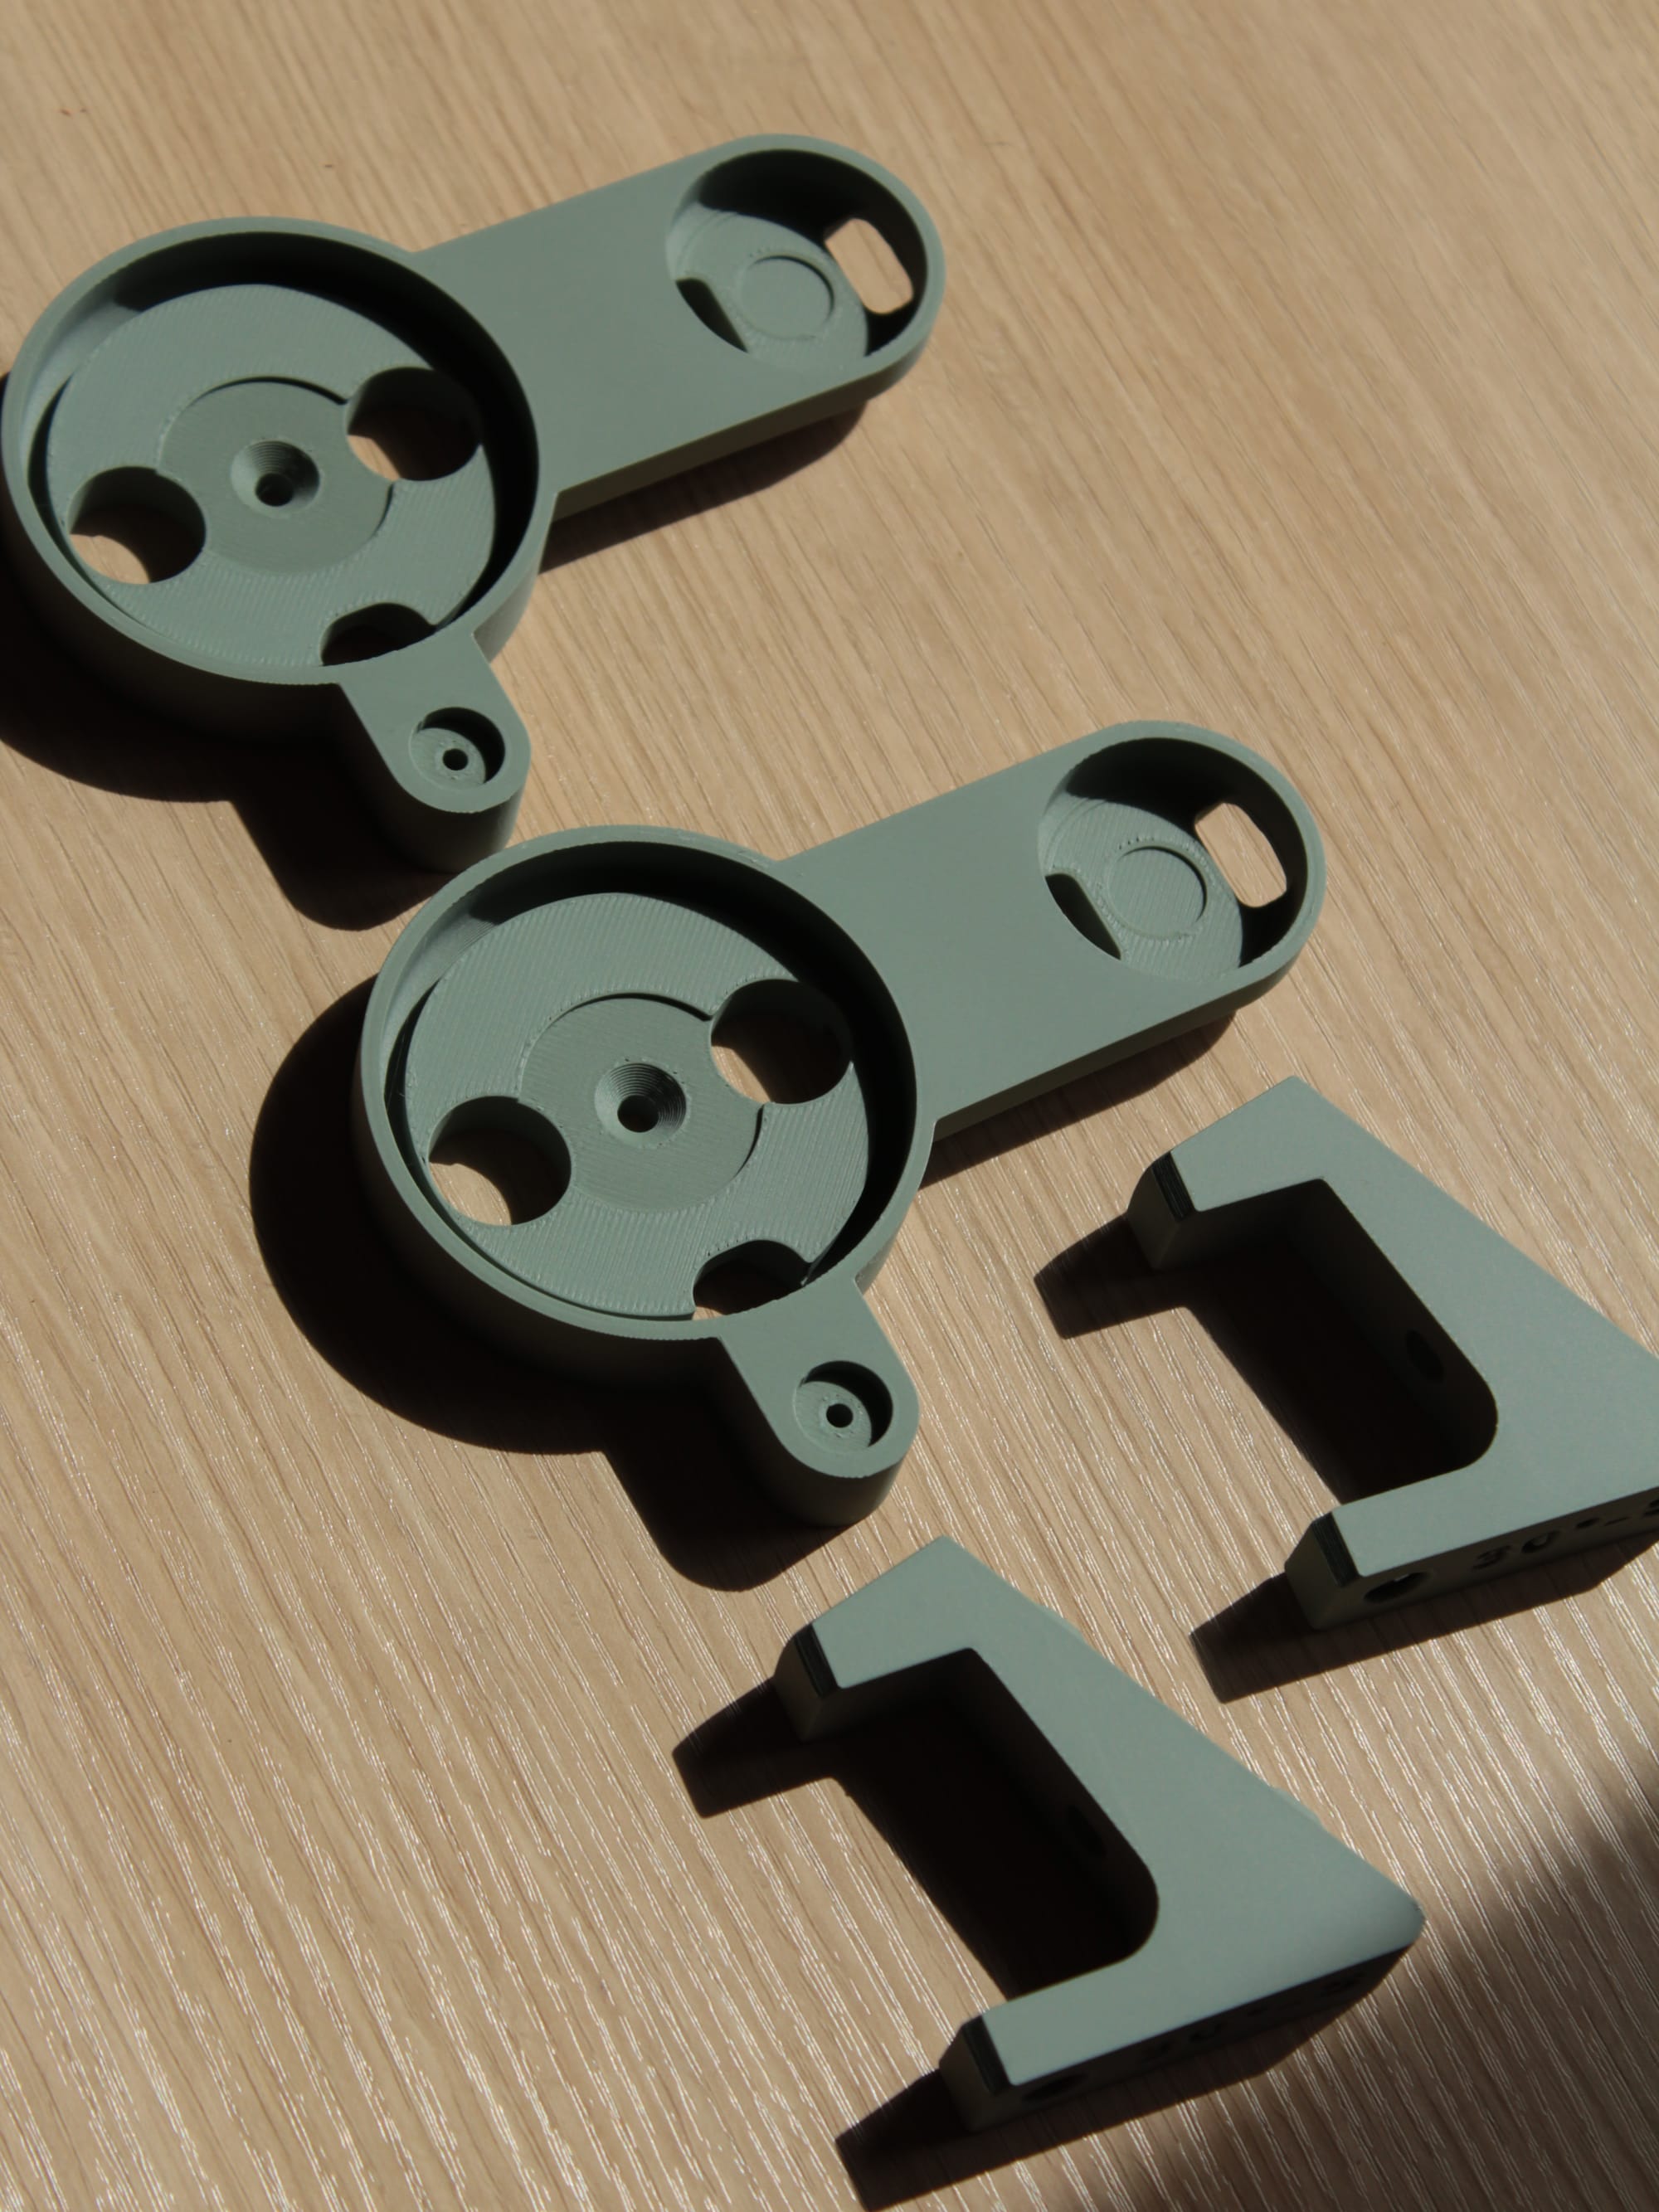
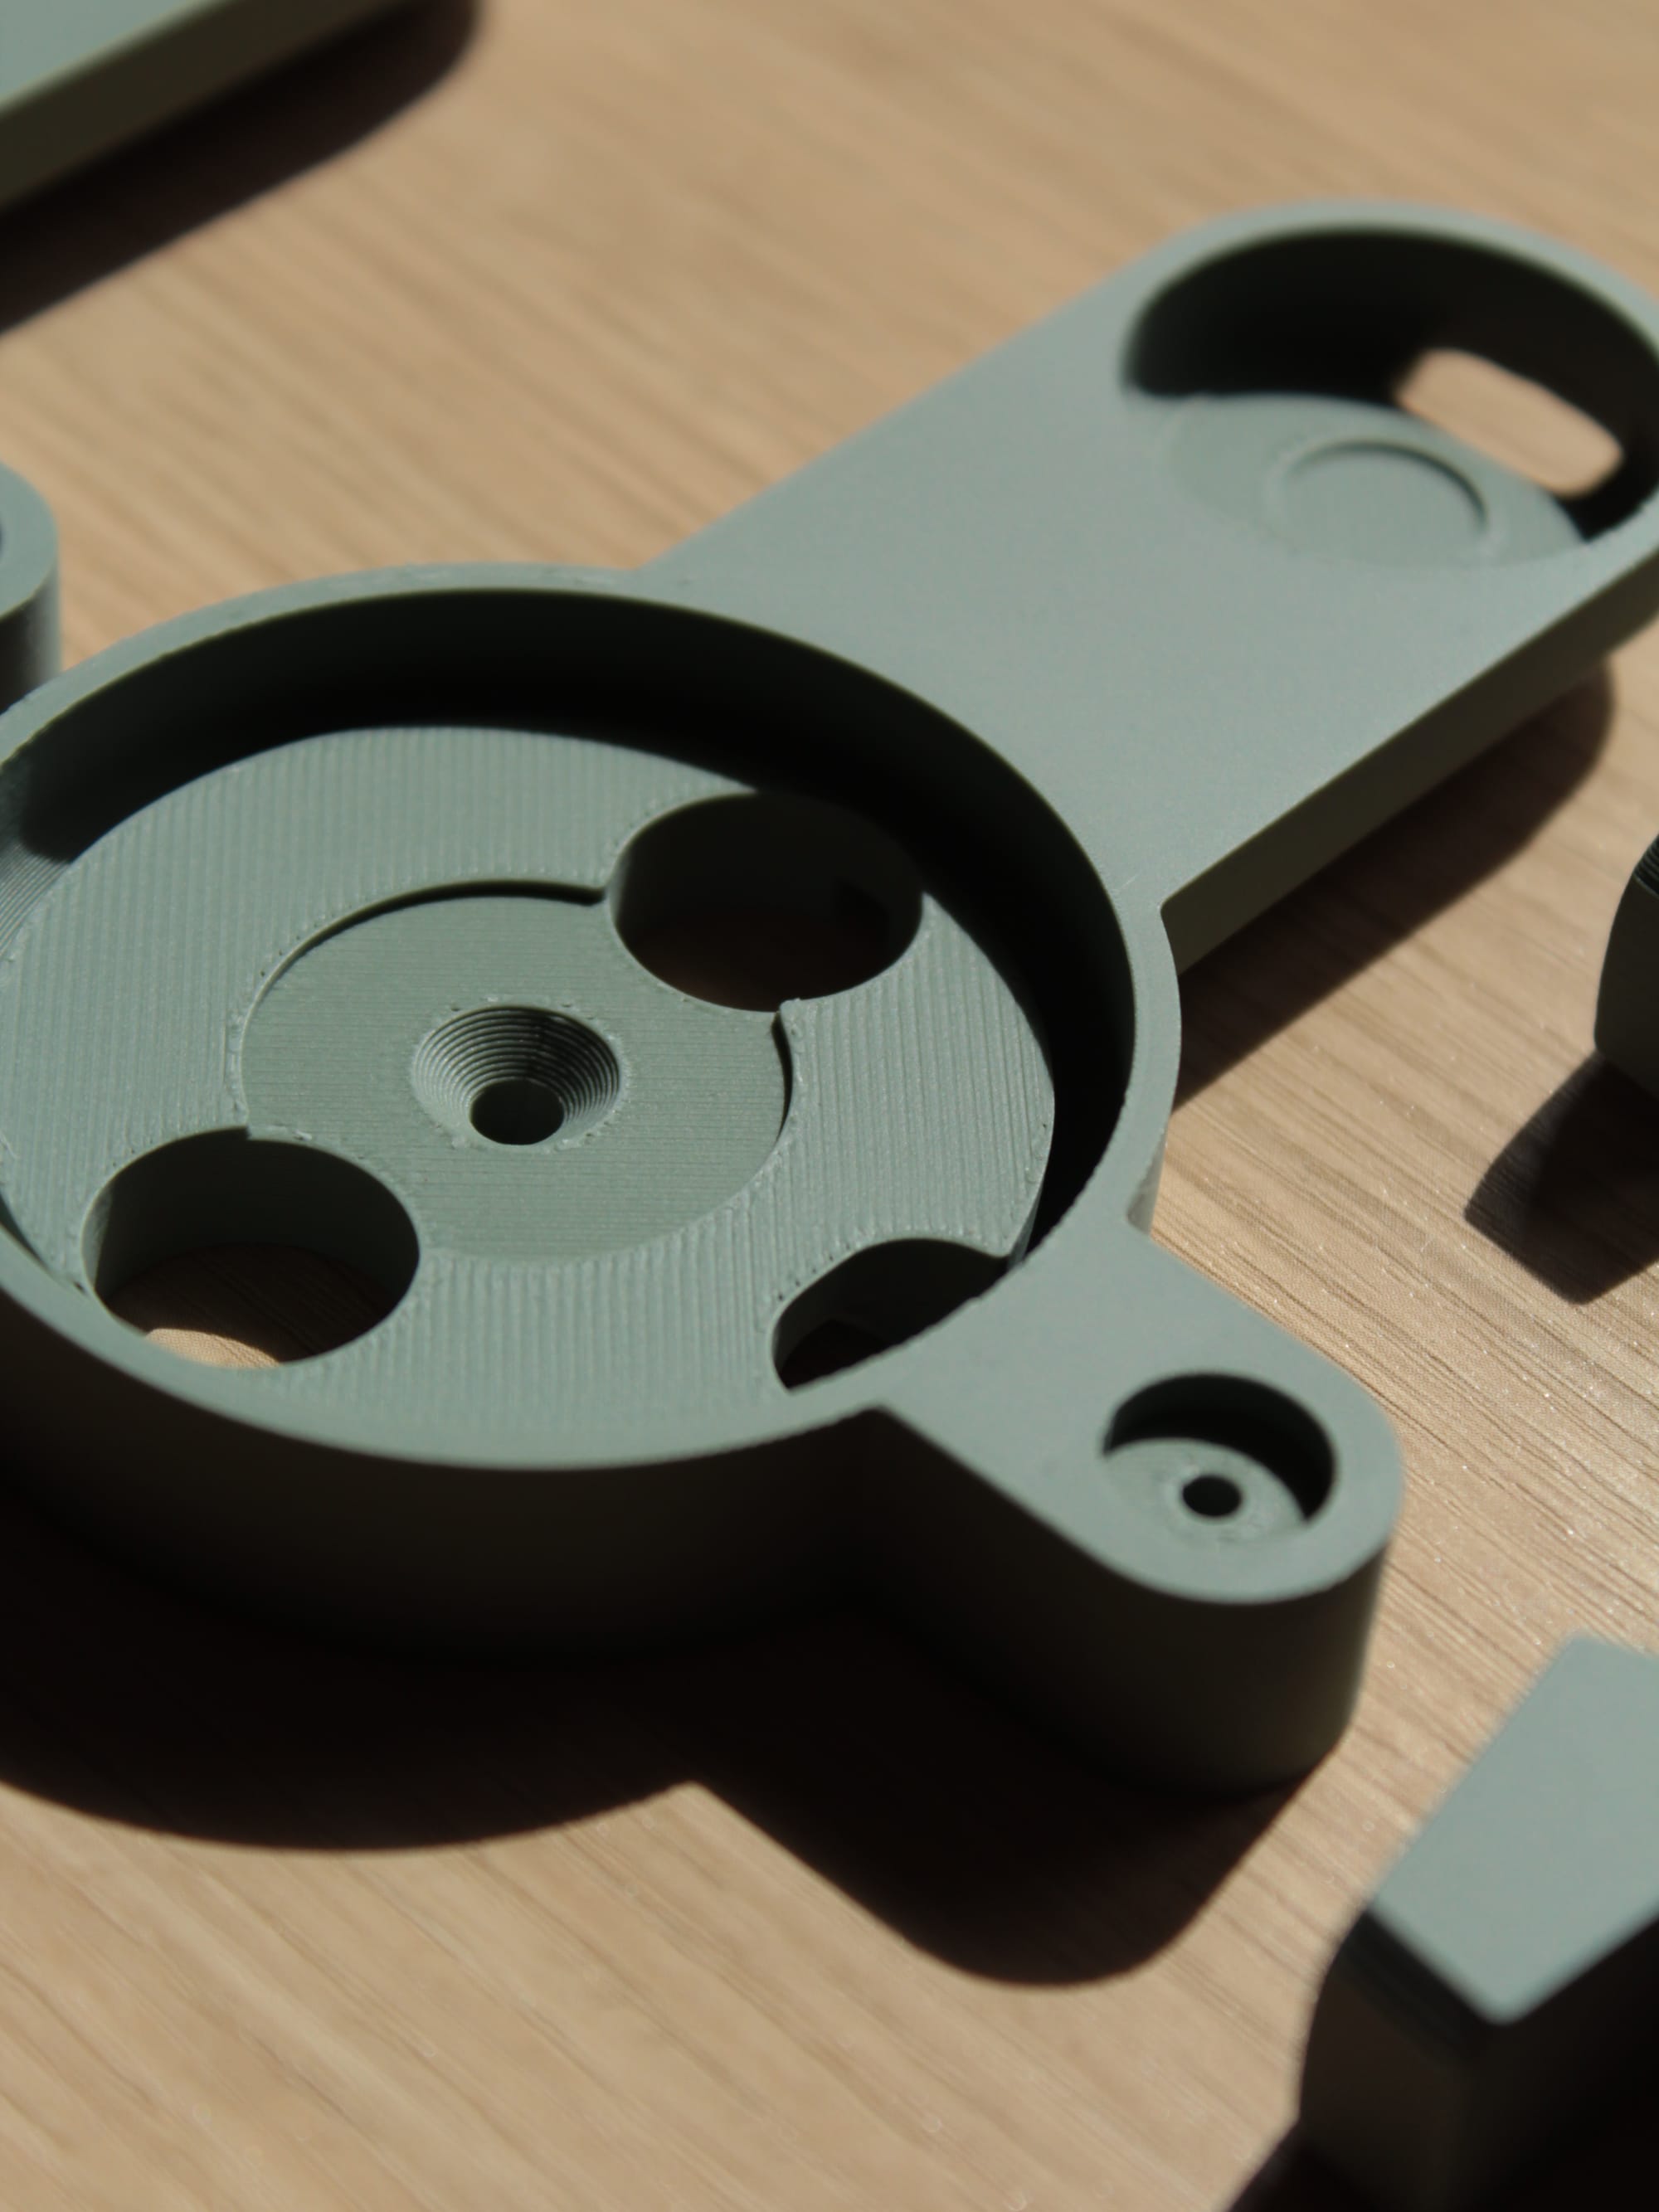
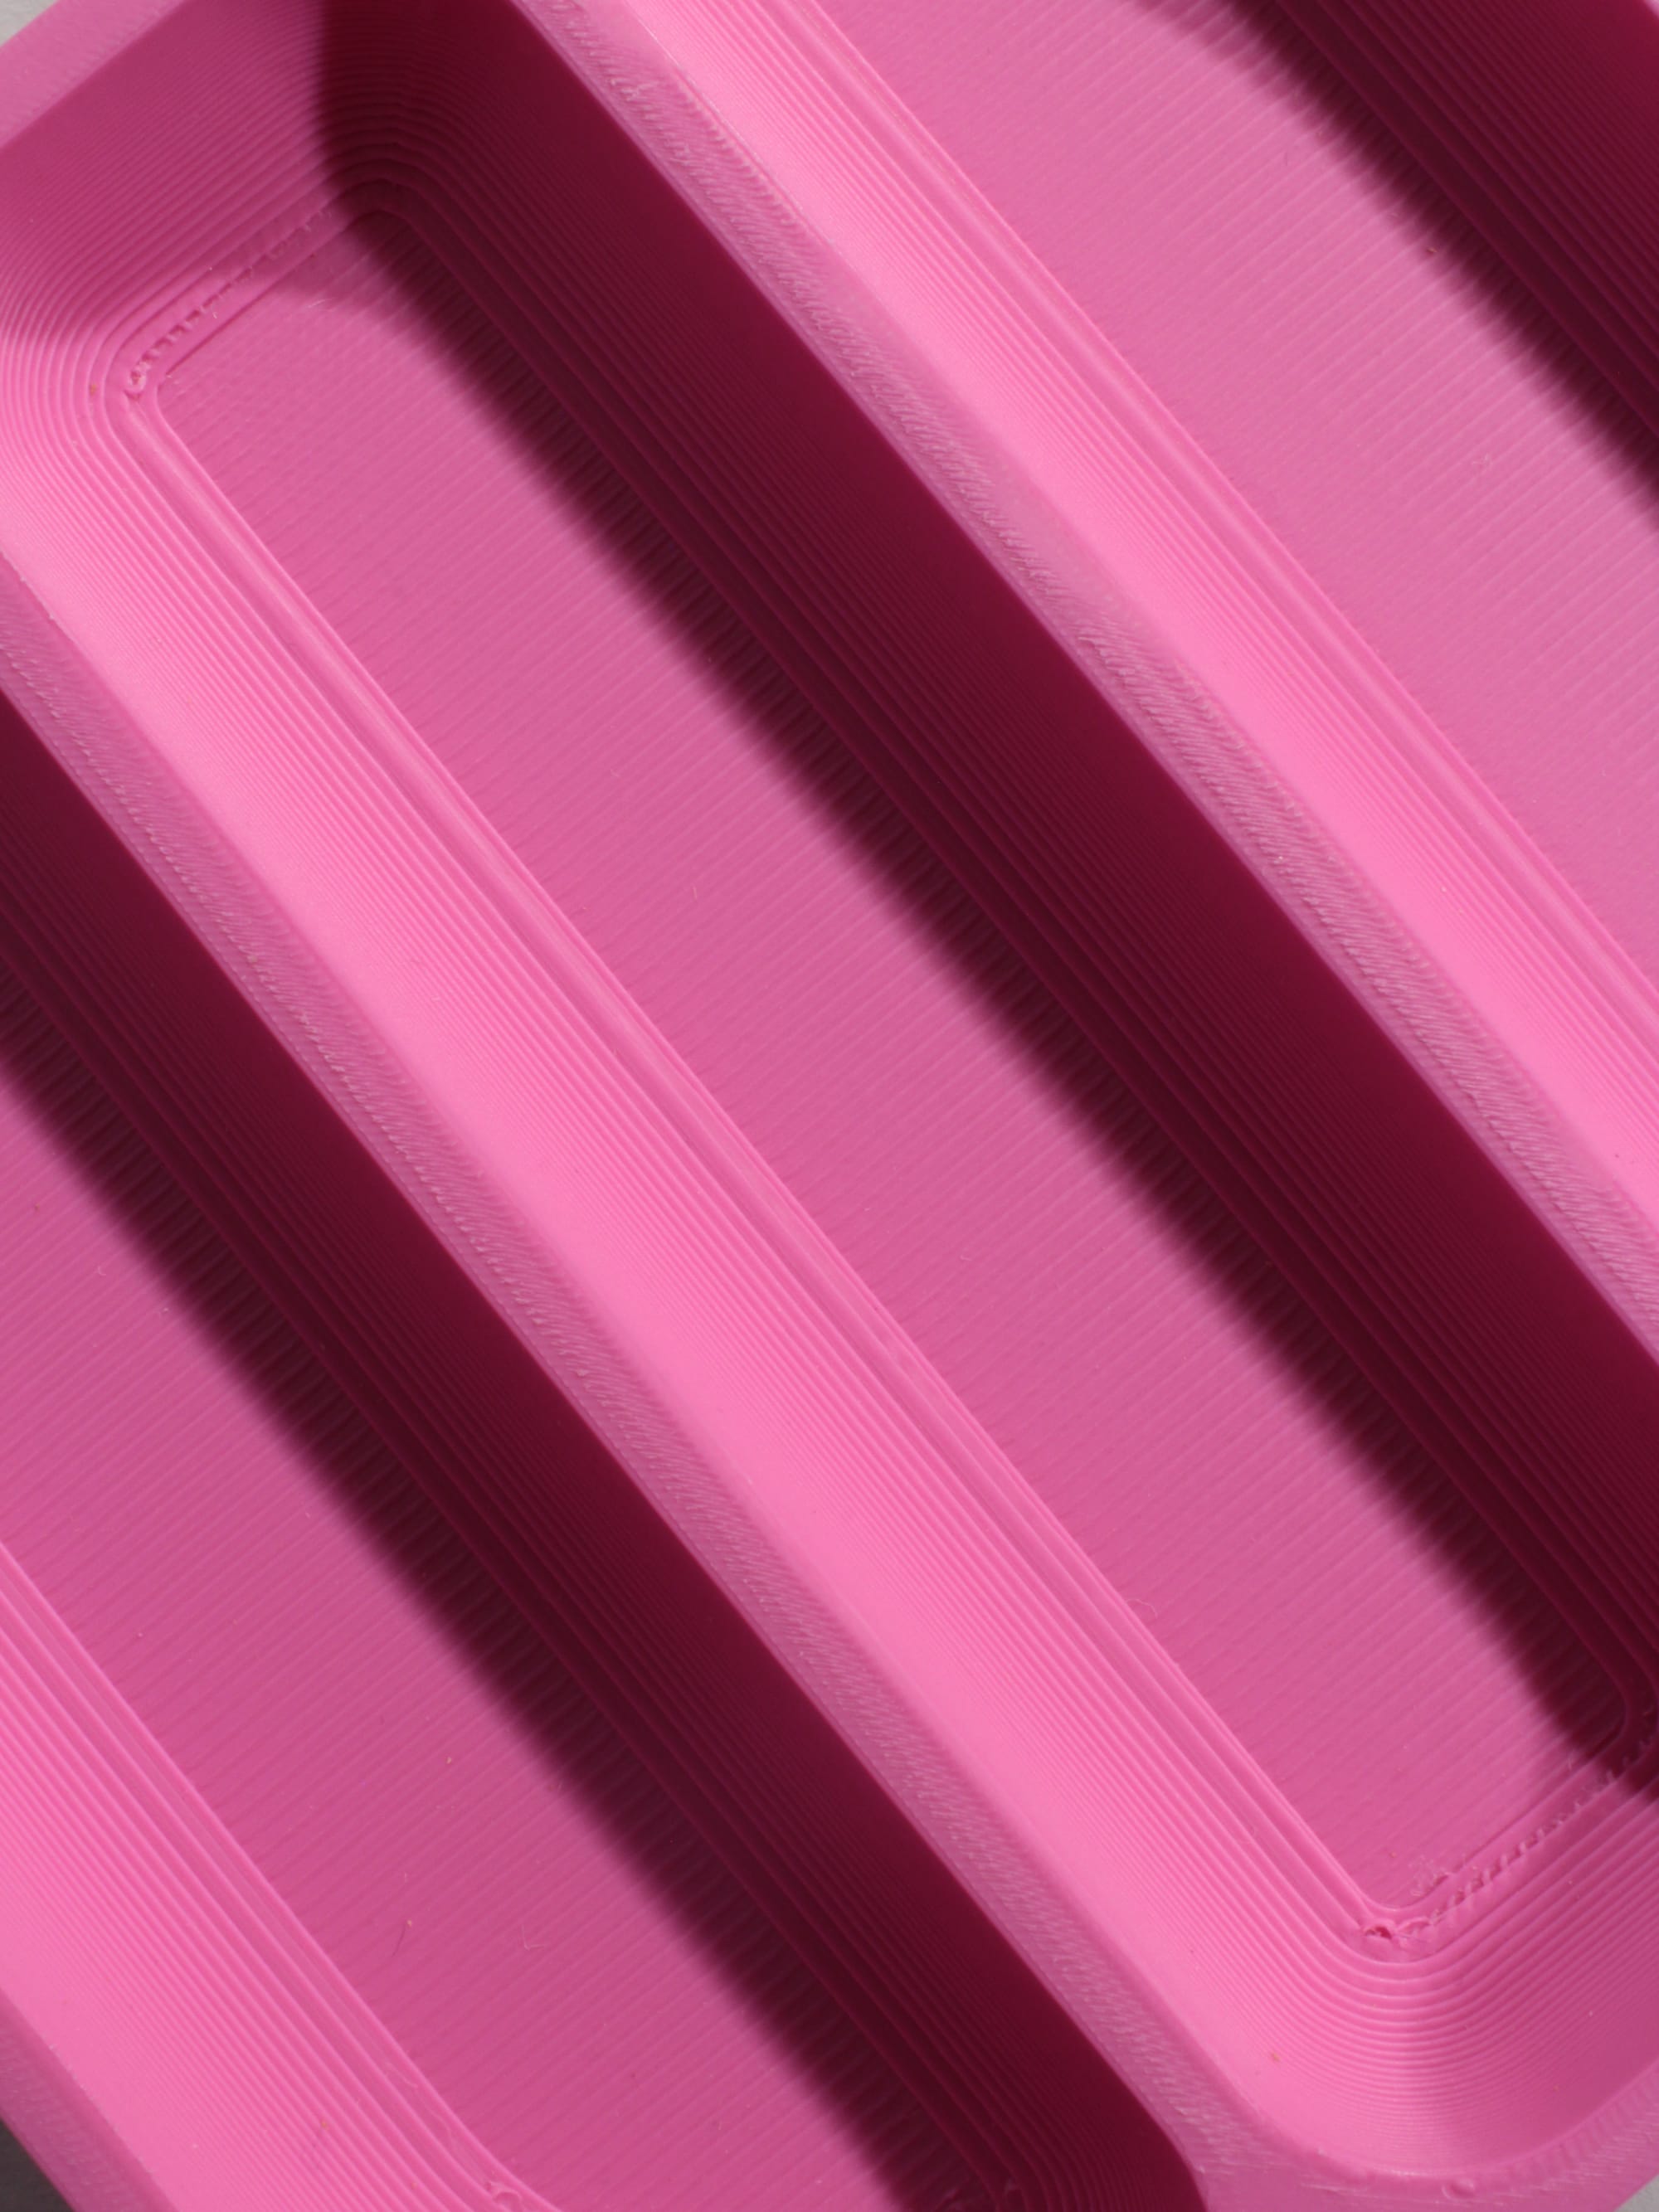
I leave it overnight at 50 °C in a SUNLU Filament Dryer. - For thin surfaces, check your slicing preview to make sure the ironing lines run parallel to the longest side of the surface. That way, you avoid getting the type of ridges in the left-side image below.
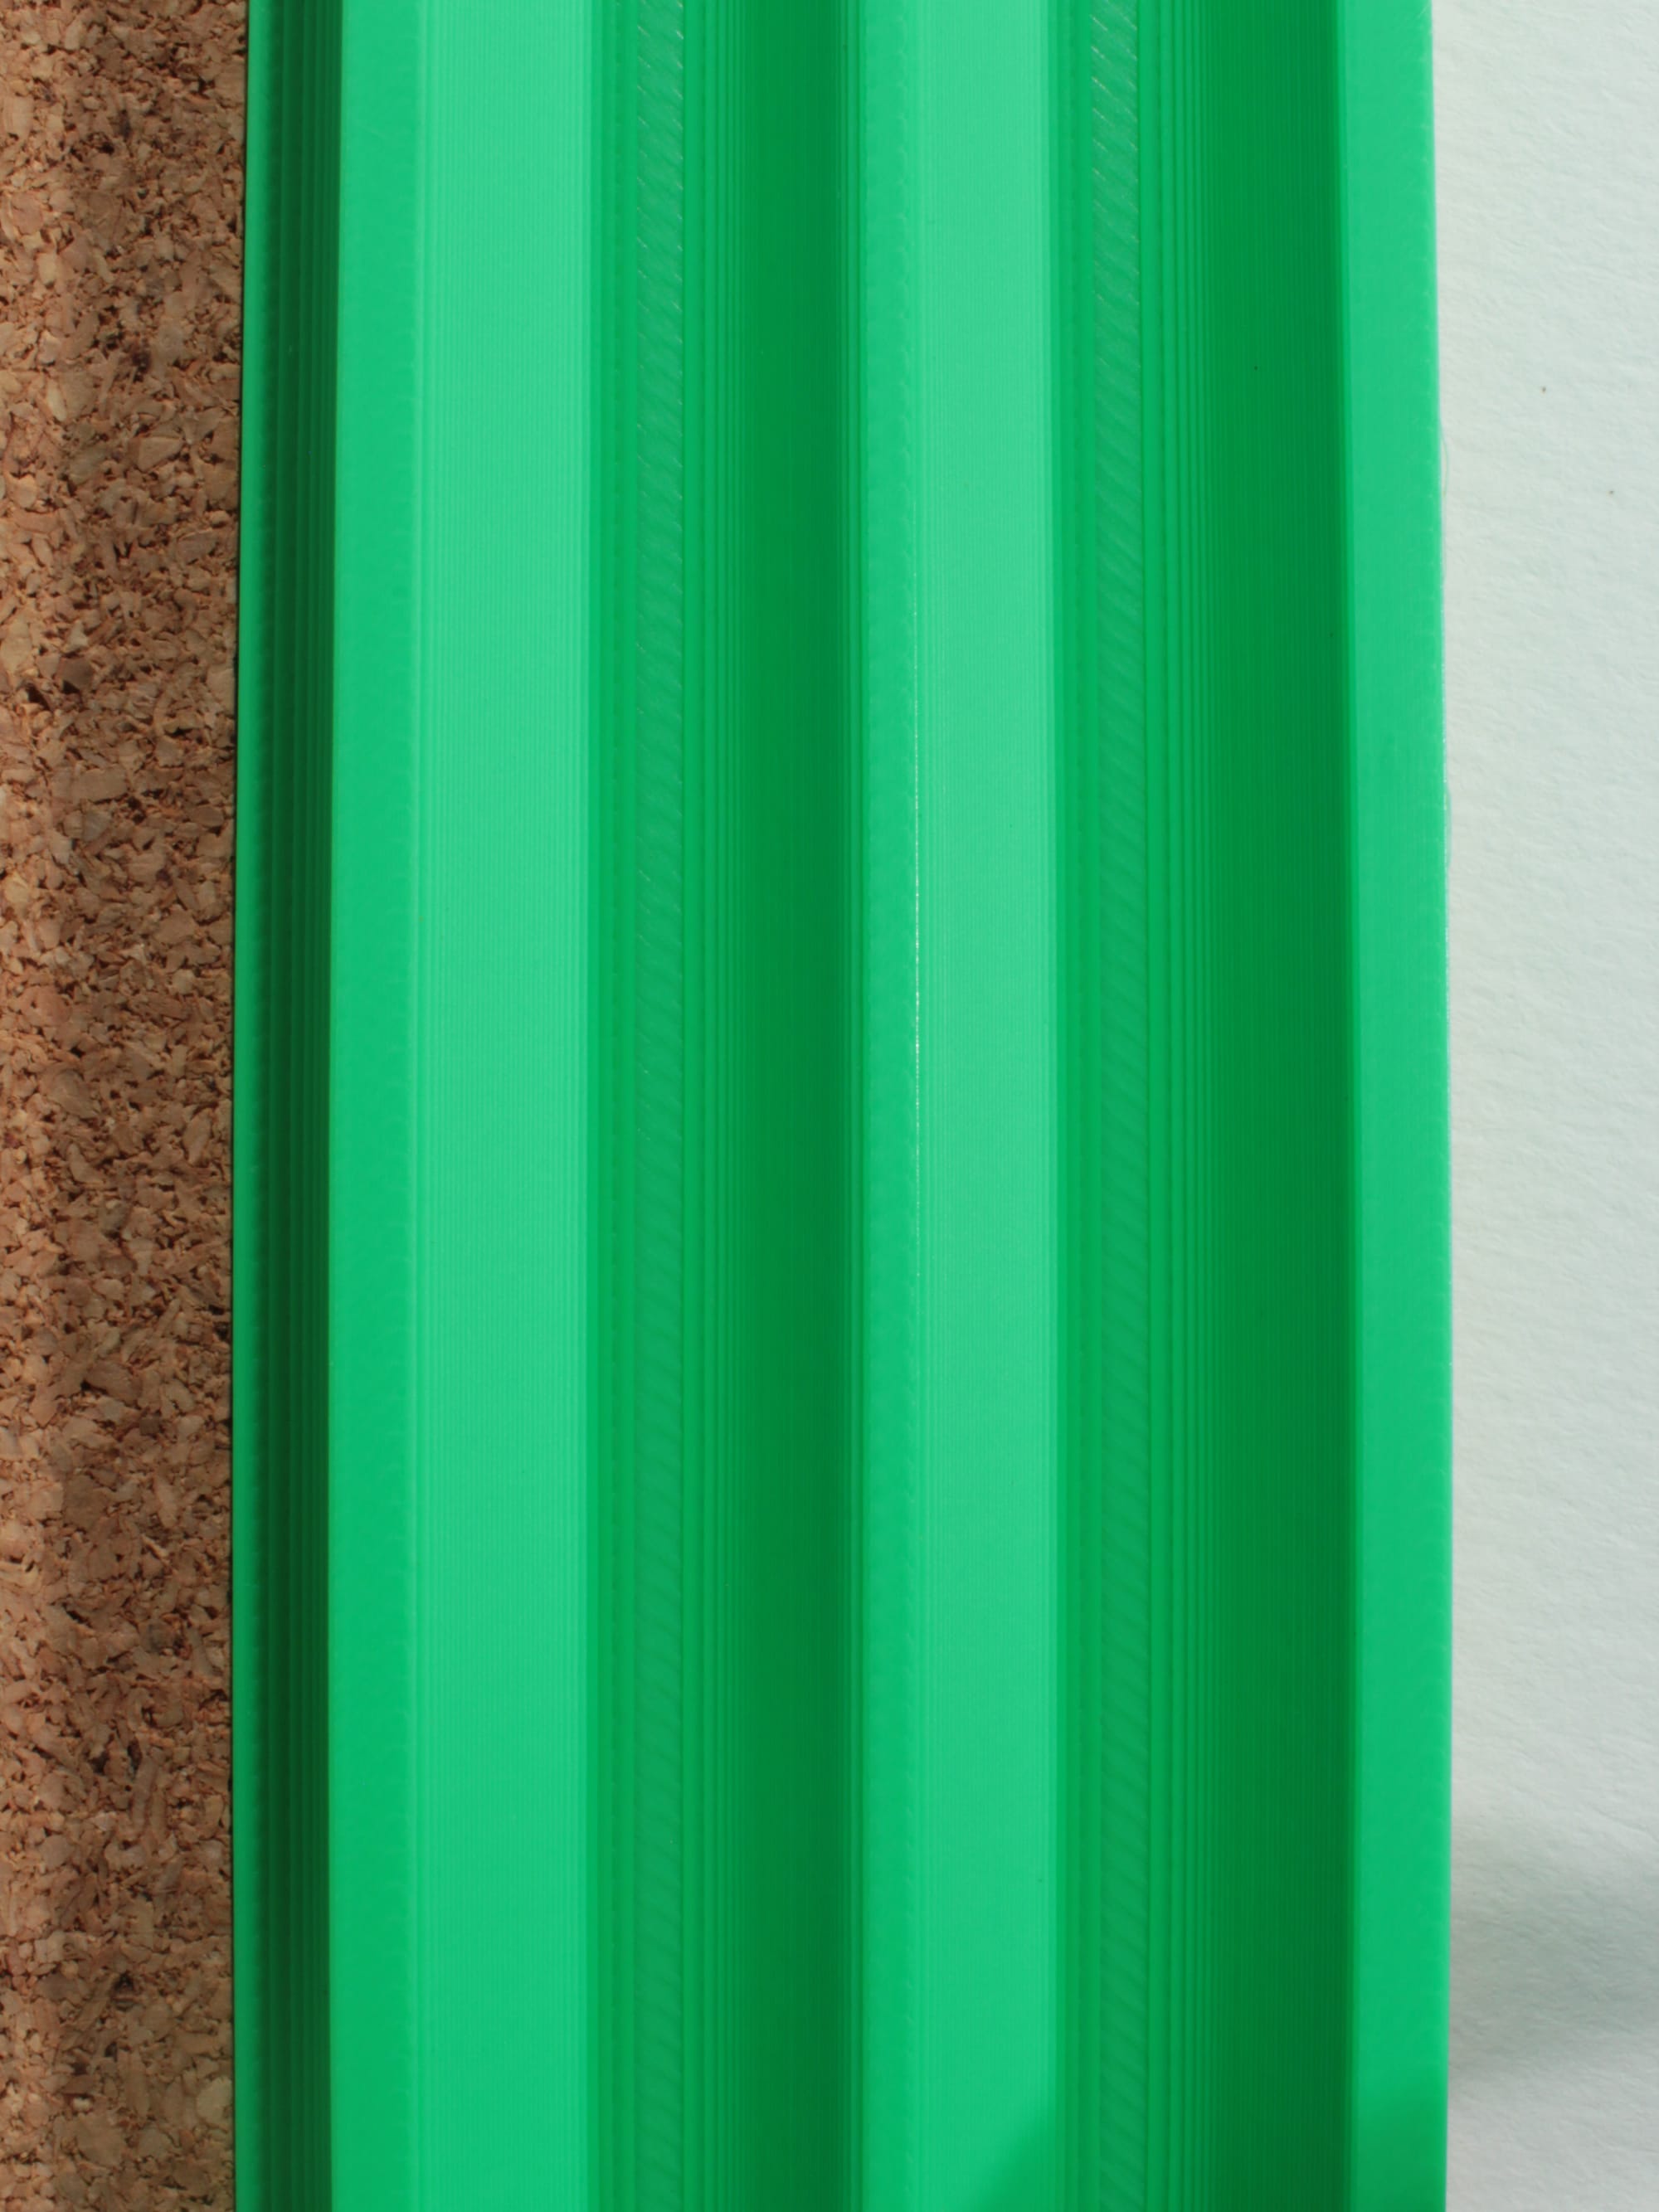
Use the flow rate slicer preview mode to visualize the ironing lines easily. Rotate your part to achieve the desired orientation.
Notice how I oriented the bottom left part at a 45° angle. This is a compromise, but it helped avoid the ridging as the ironing movements never go across the small width of the edges.